How to create a quiz
Go to www.jove.com
1. Introduction To Jove Quiz
Hi everyone. In this video, we'll cover how Jove Quiz can be used to create quiz and how to distribute them on Jove site
2. Access Quiz Library Section
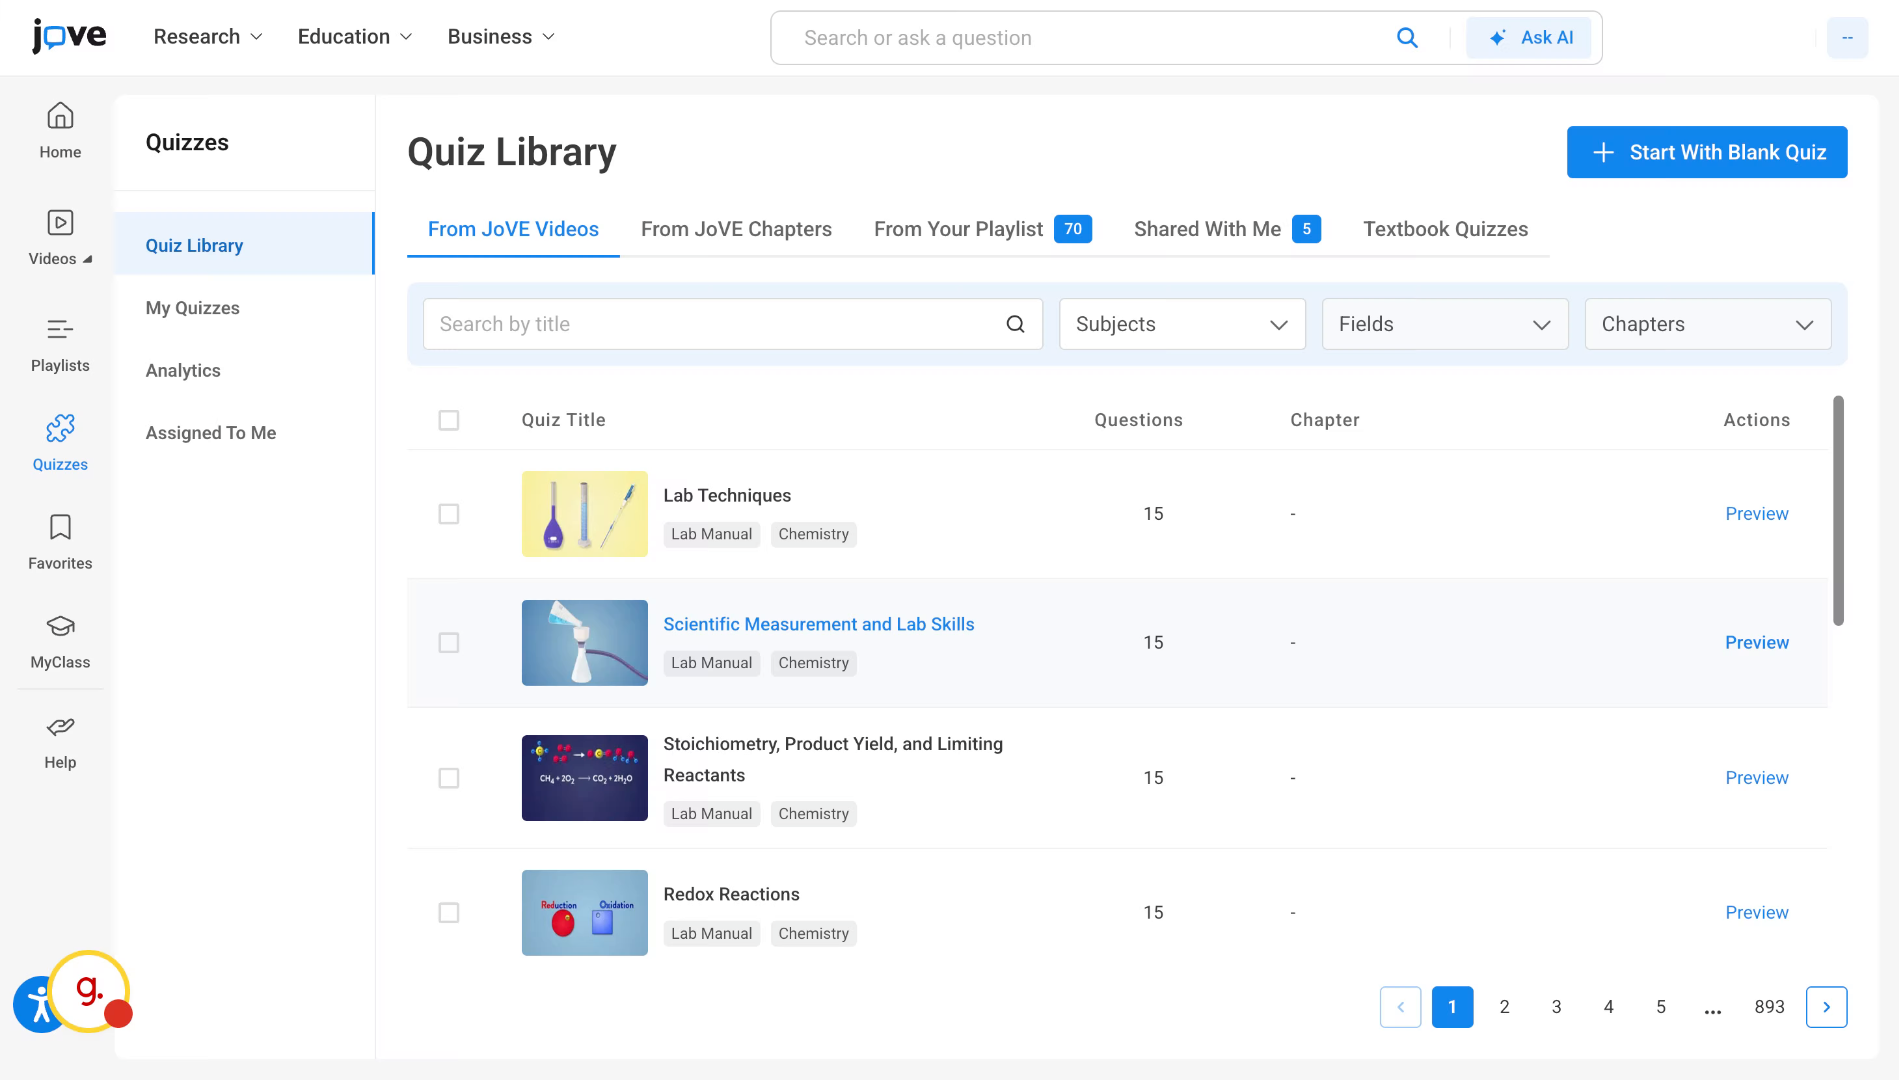
when a professor or an instructor comes to Jove Quiz, they will first land on the quiz library section

3. Overview Of Quiz Library
In here, there are multiple types of template quizzes housed in the quiz library. In the first tab From Jove videos, all the single video quizzes are stored. All education and business videos have quizzes attached to them which are enlisted in this tab.

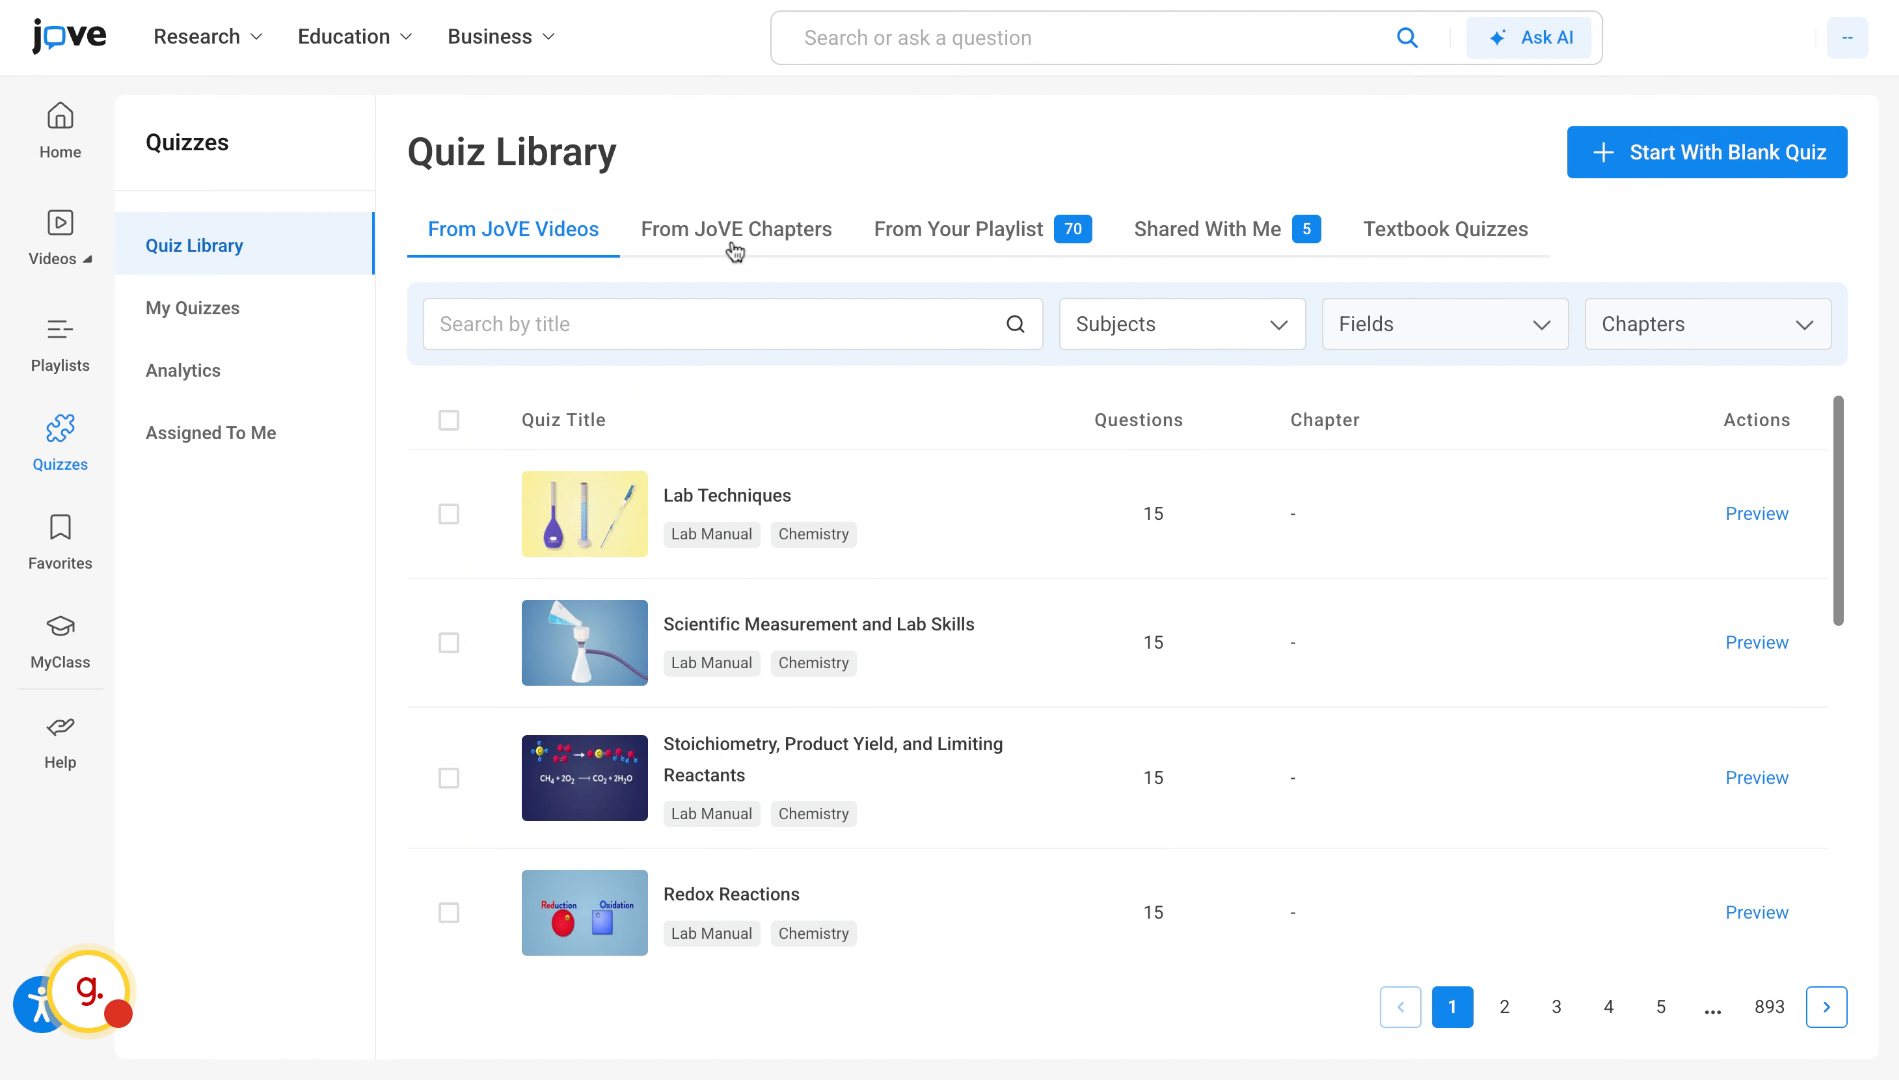
4. Explore Chapter-Based Quizzes Tab (1)
In the second tab, which is from jove chapter, all quizzes that are based on chapters enlisted in Jove are stored.
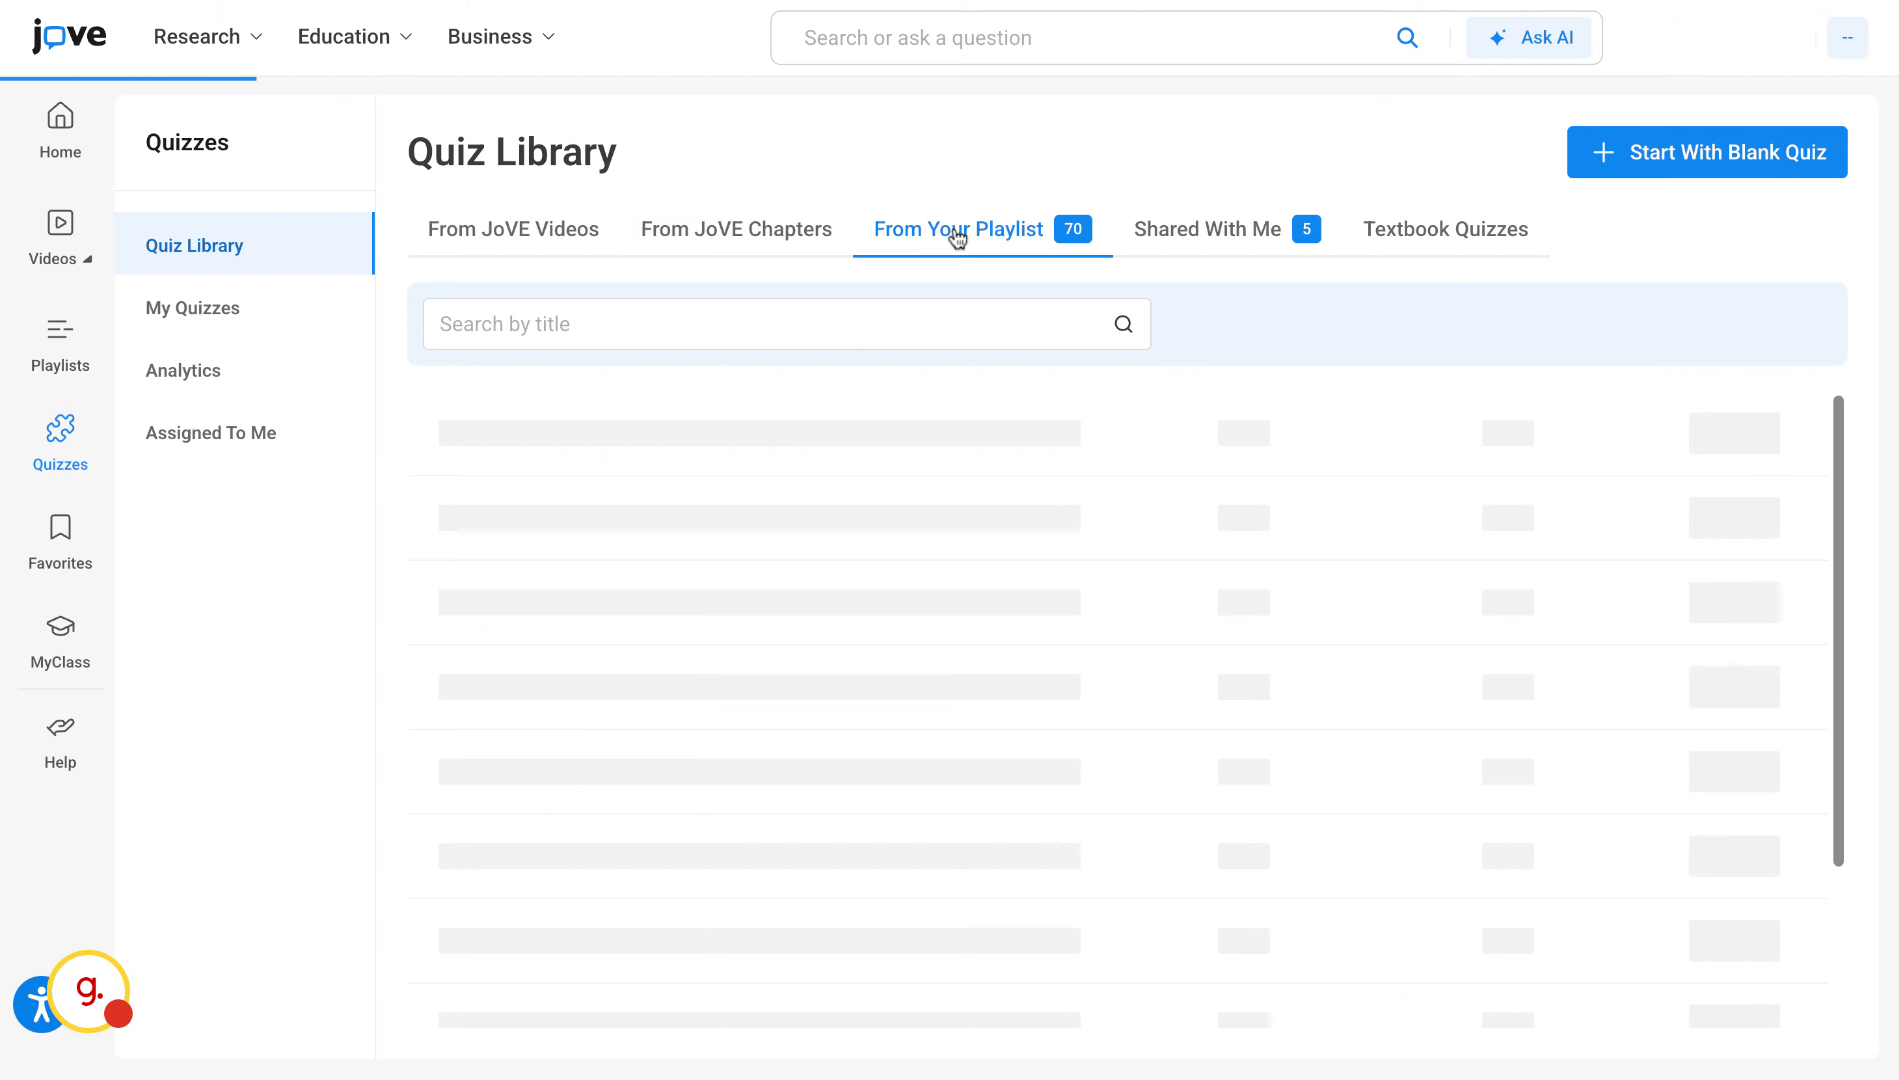
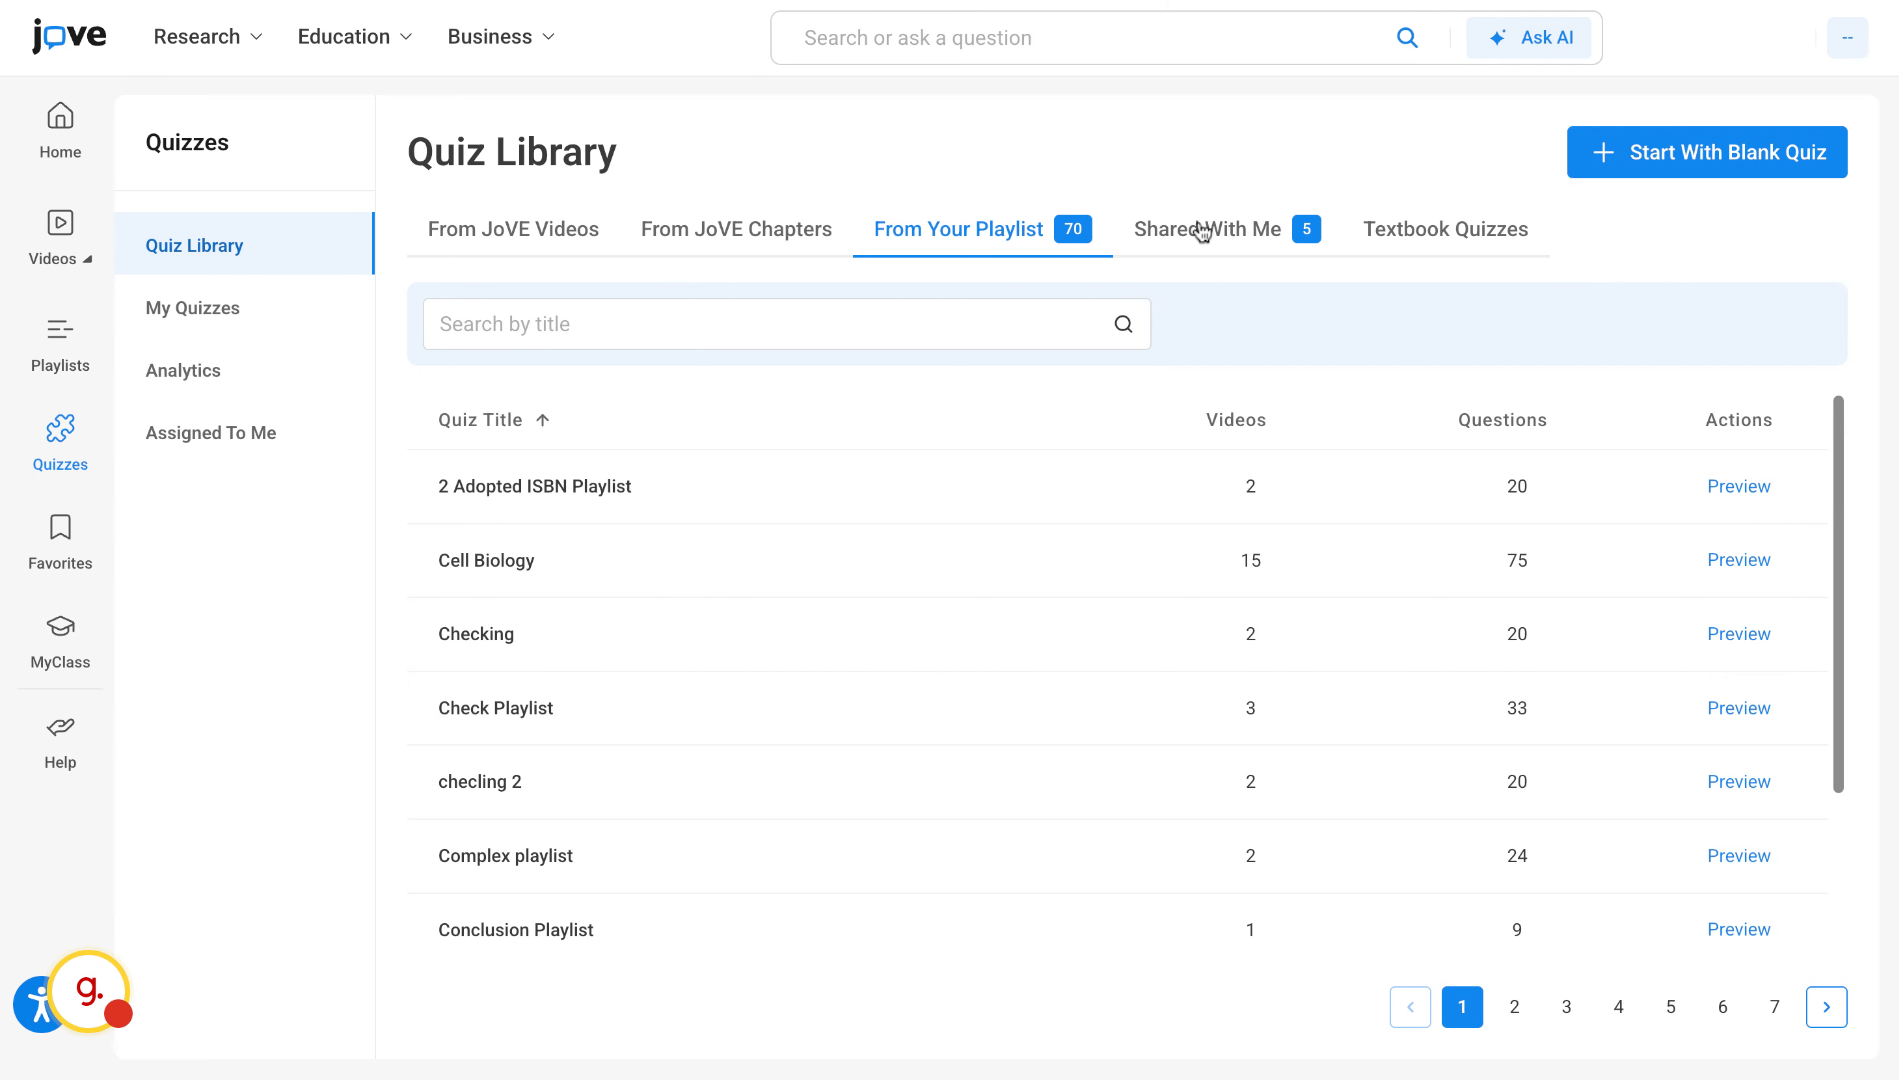
5. Access Playlist-Based Quizzes (1)
In the playlist section, the user will find all the quizzes created from the playlist they have made and that are registered under their account.
6. View Shared With Me Playlists (1)
the shared with me section has all the quizzes that have been shared to the user by other professors or CS users from the jove team.
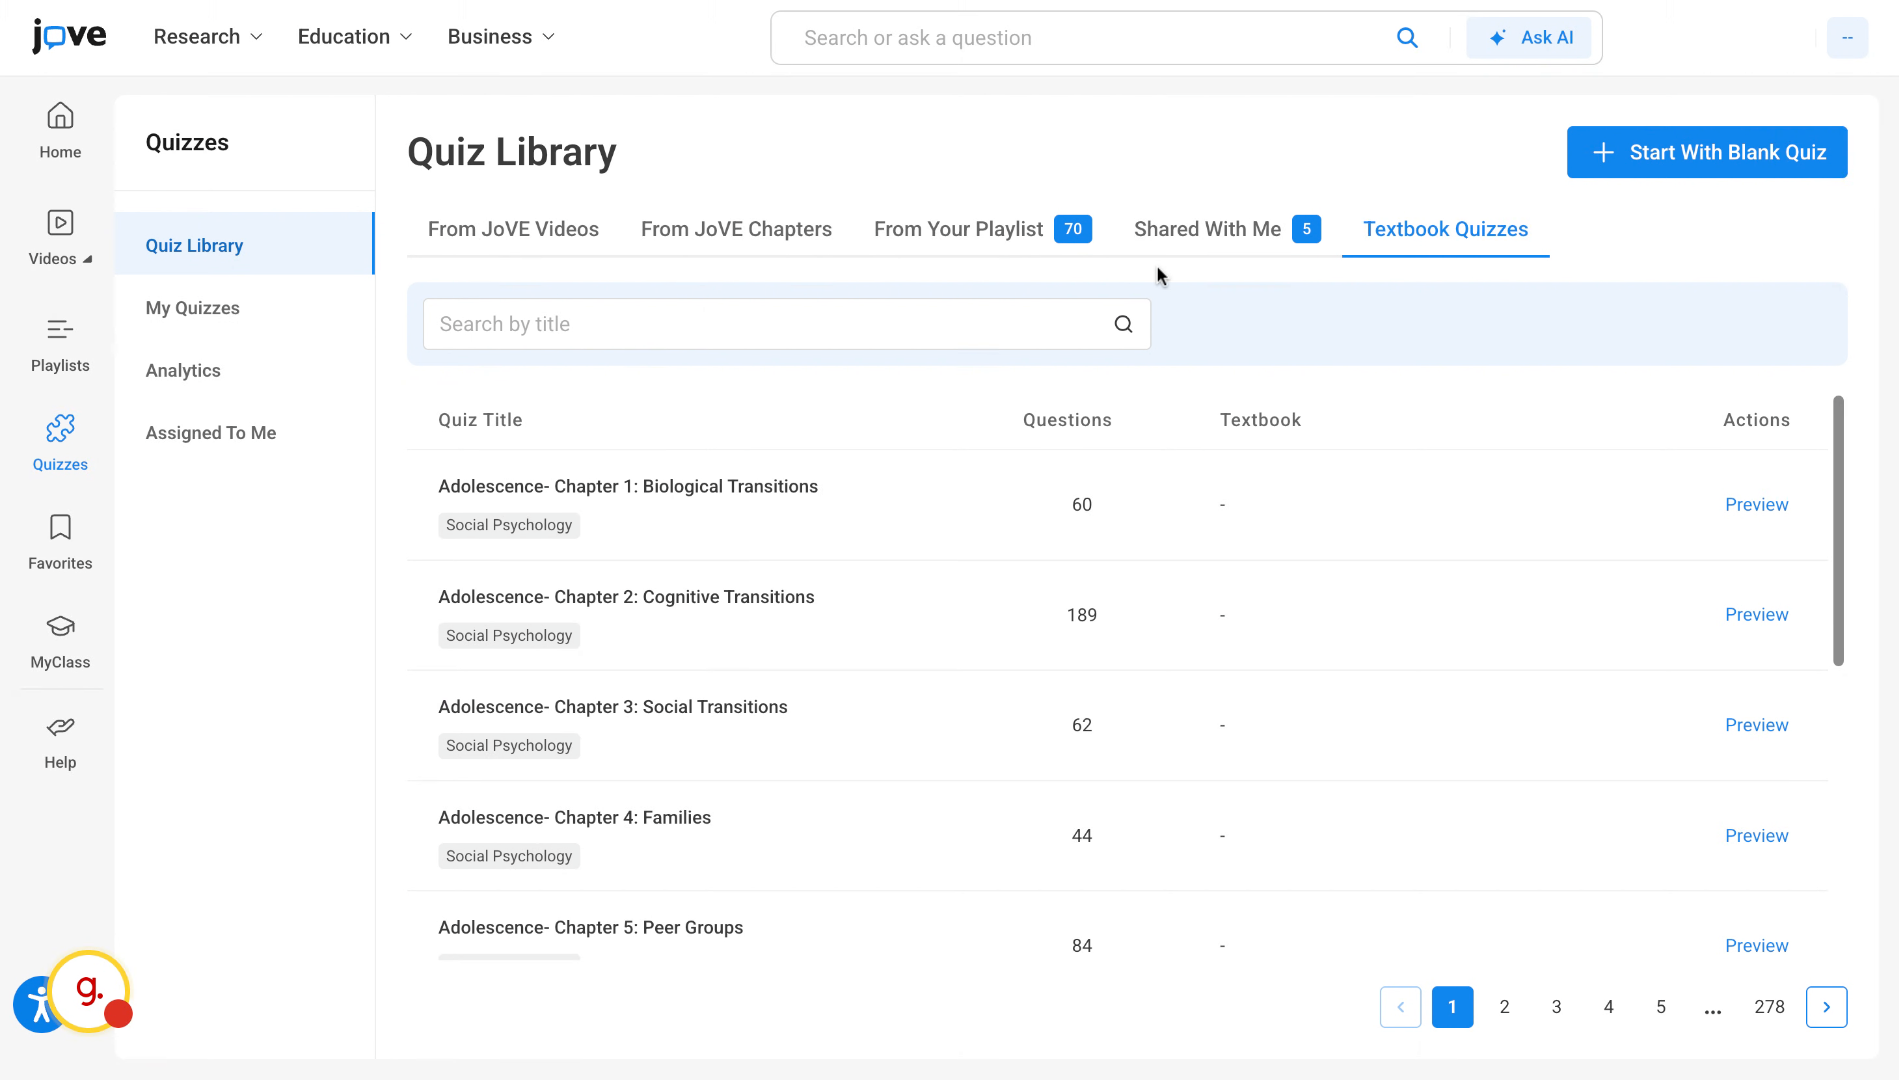
7. Explore Textbook-Based Quizzes (1)
And the last tab, which is the textbook quizzes, house quizzes that are based out of popular textbooks such as Campbell Biology and so on.
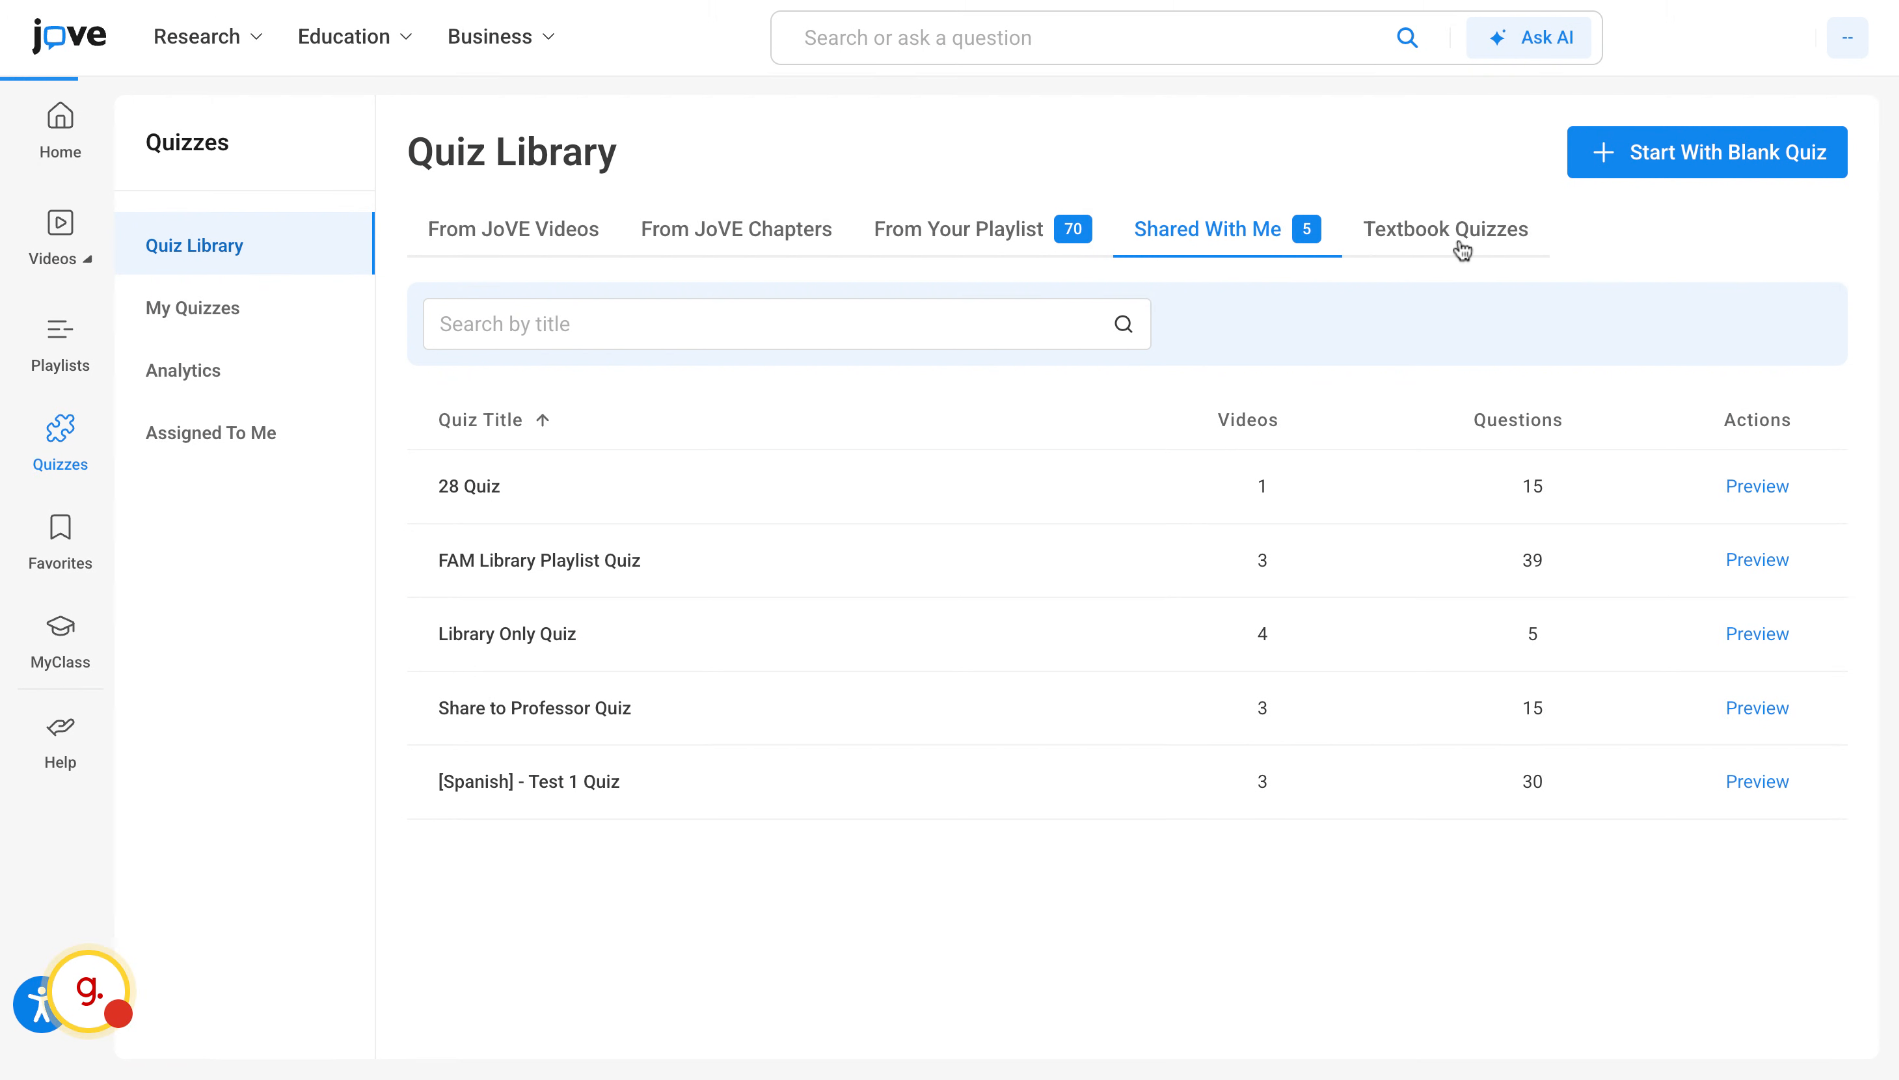
8. Preview Quizzes In Library (1)
The user can view any of these quizzes by clicking on the quiz row. A side preview will be shown where the user can scroll and go throug content of the quiz
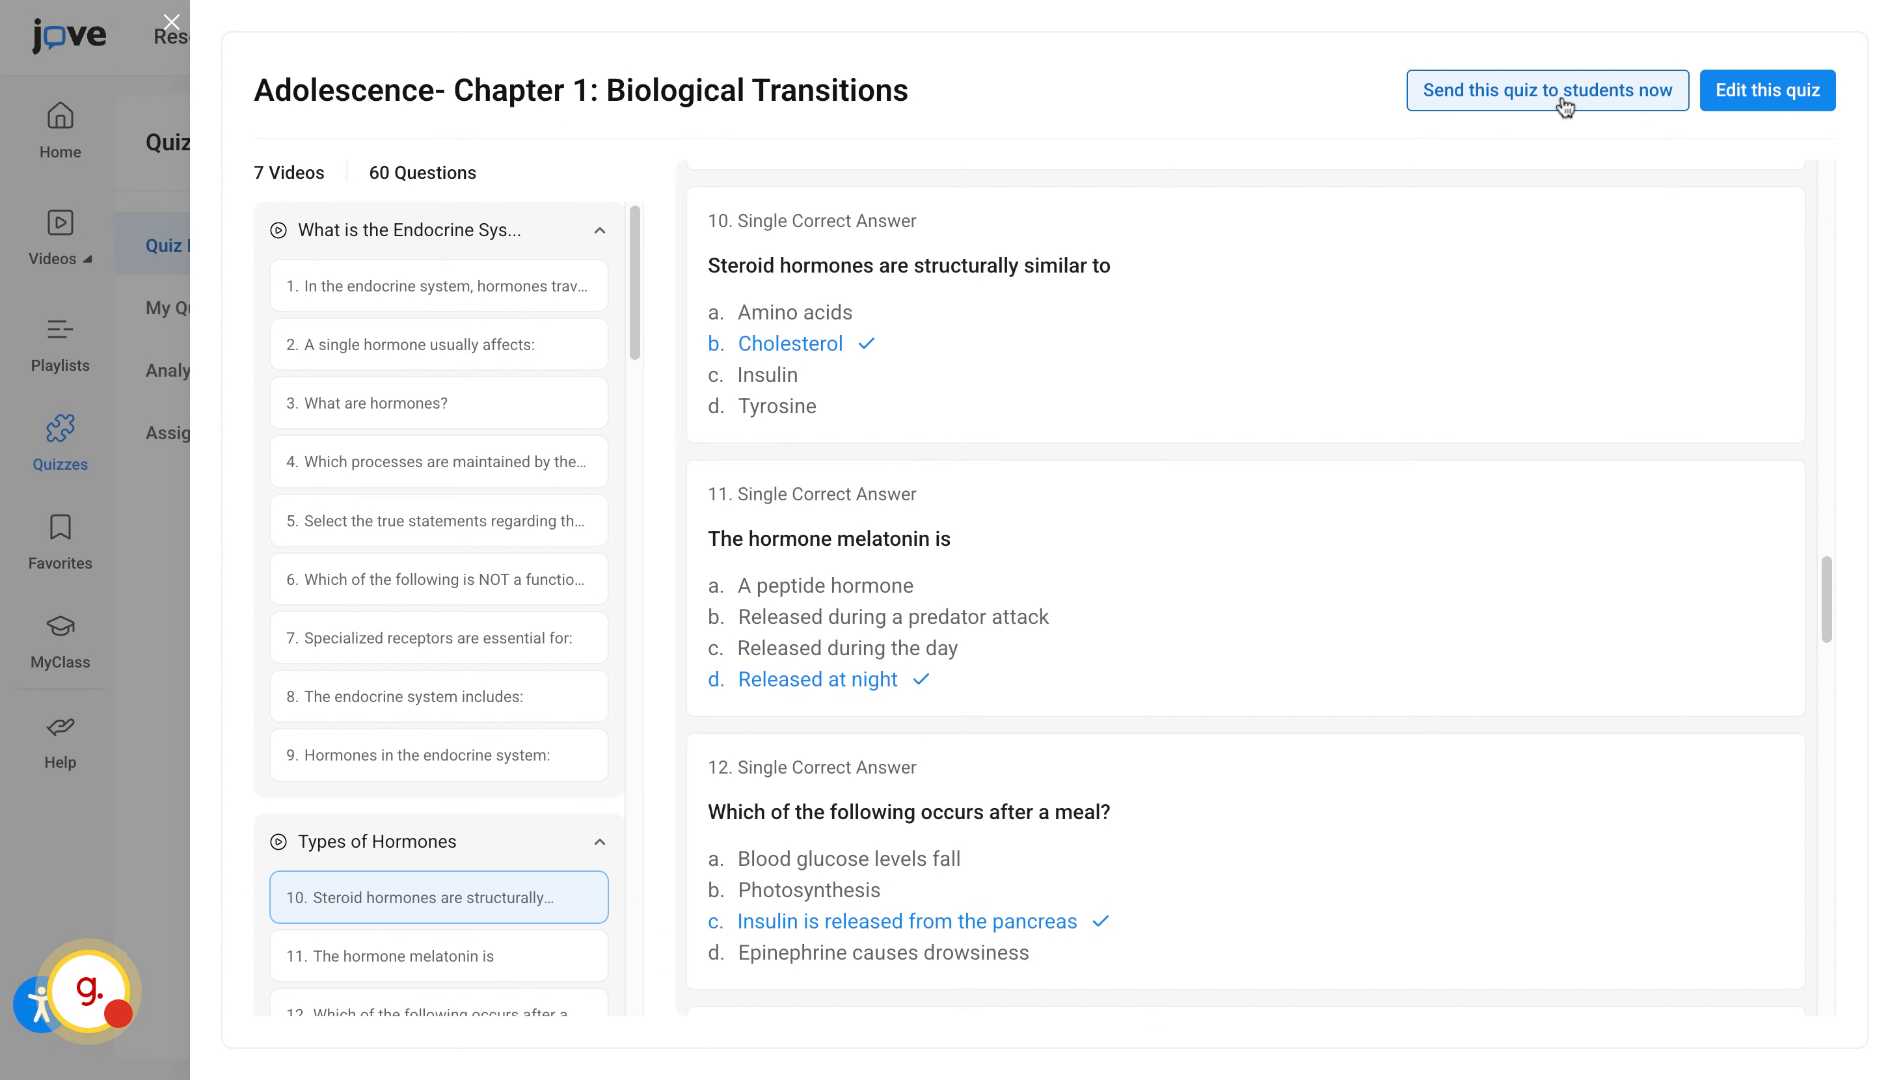
9. Distribute Quizzes To Students
The user can directly distribute this quiz by using this action button. Clicking on this button will open the settings modal where the user can define quiz settings and save the quiz.
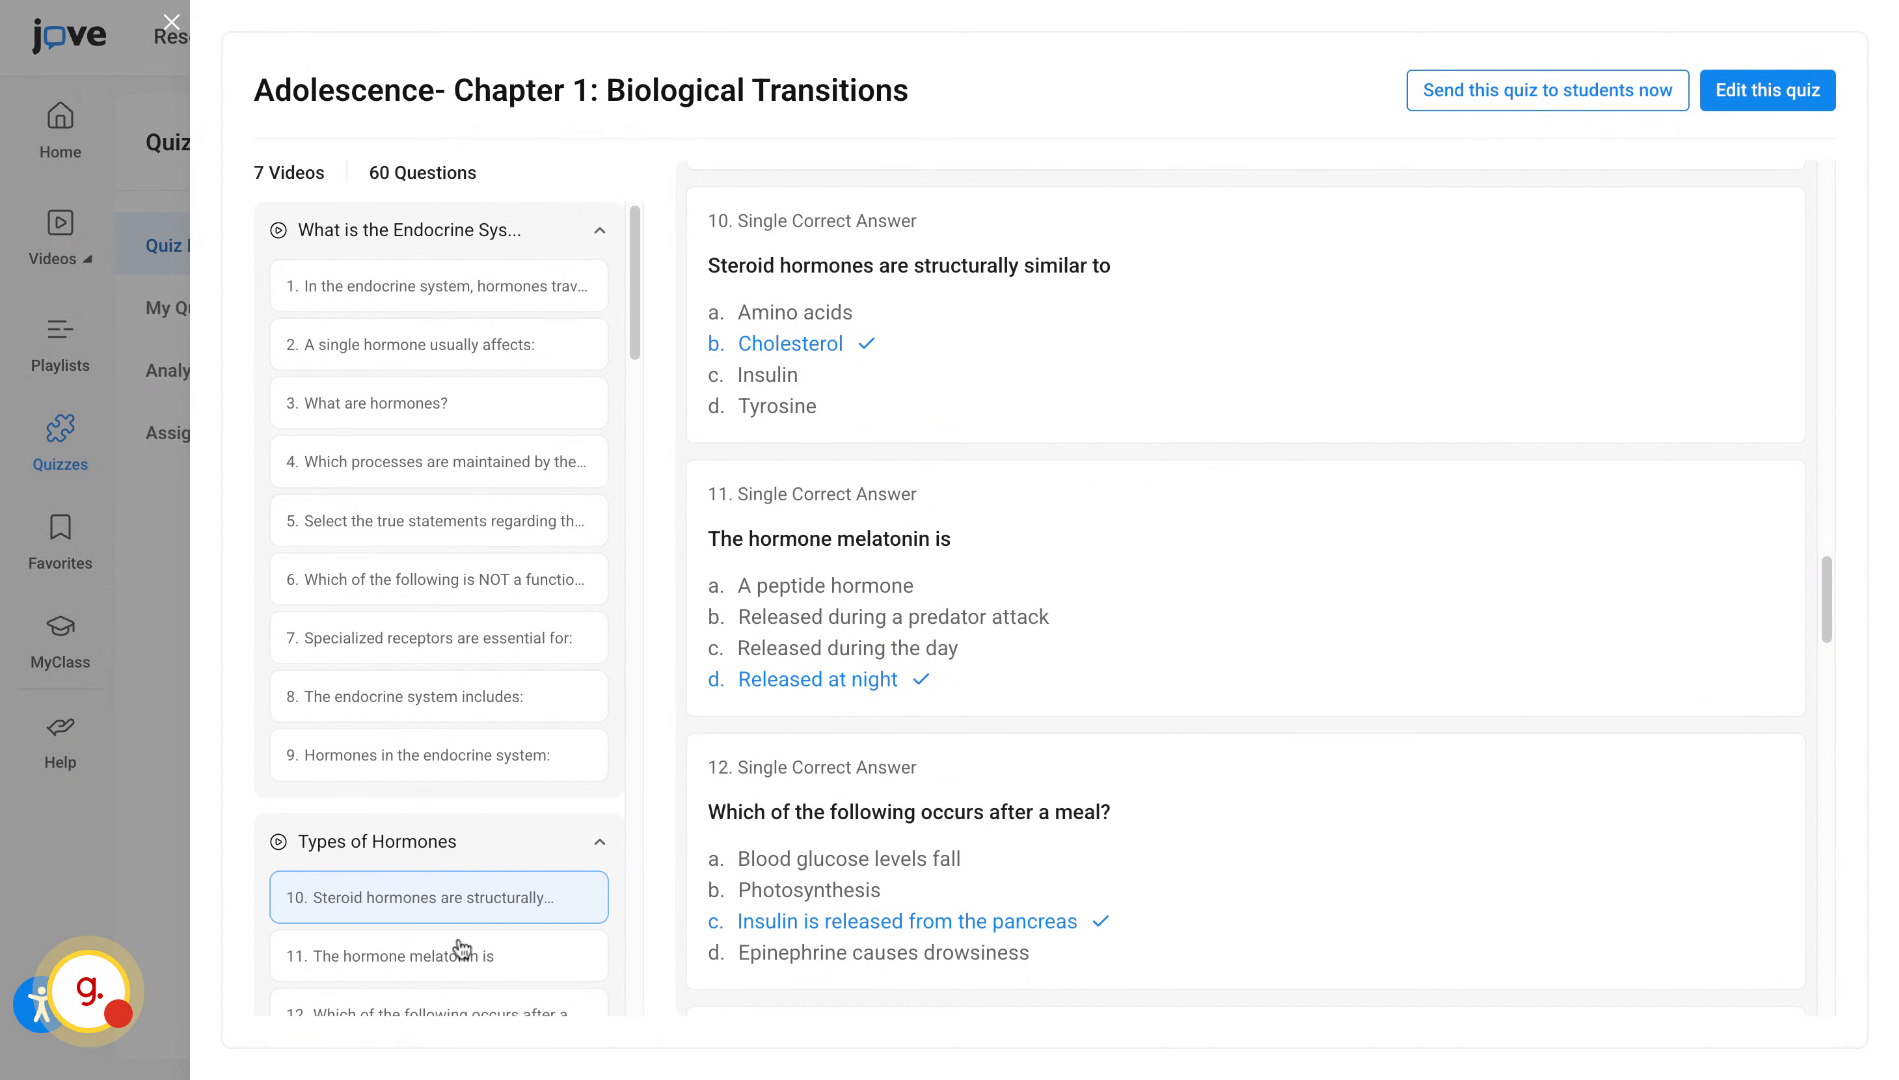
10. Edit Quiz Before Distribution
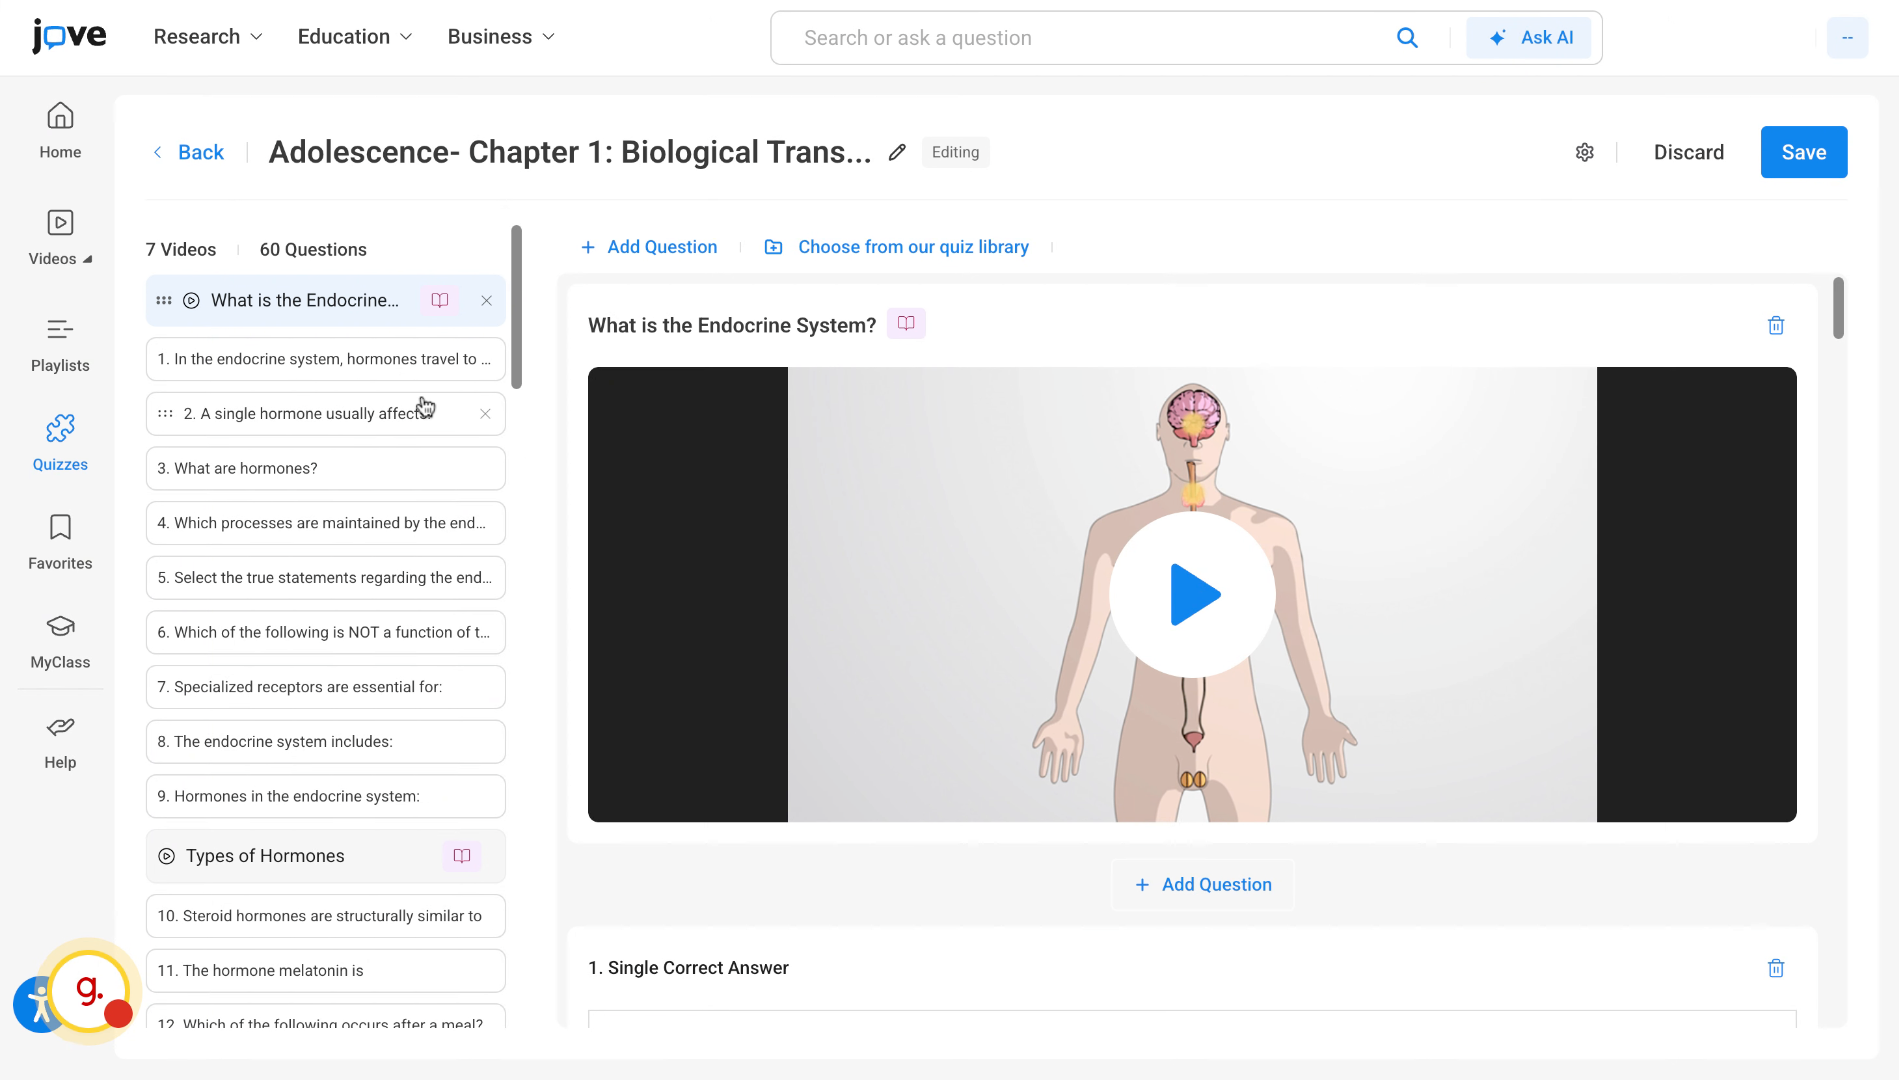
If the user wants to edit this quiz and make some changes before sending it to the student, they can just click on the edit this quiz button. Then the user will land on the quiz builder.
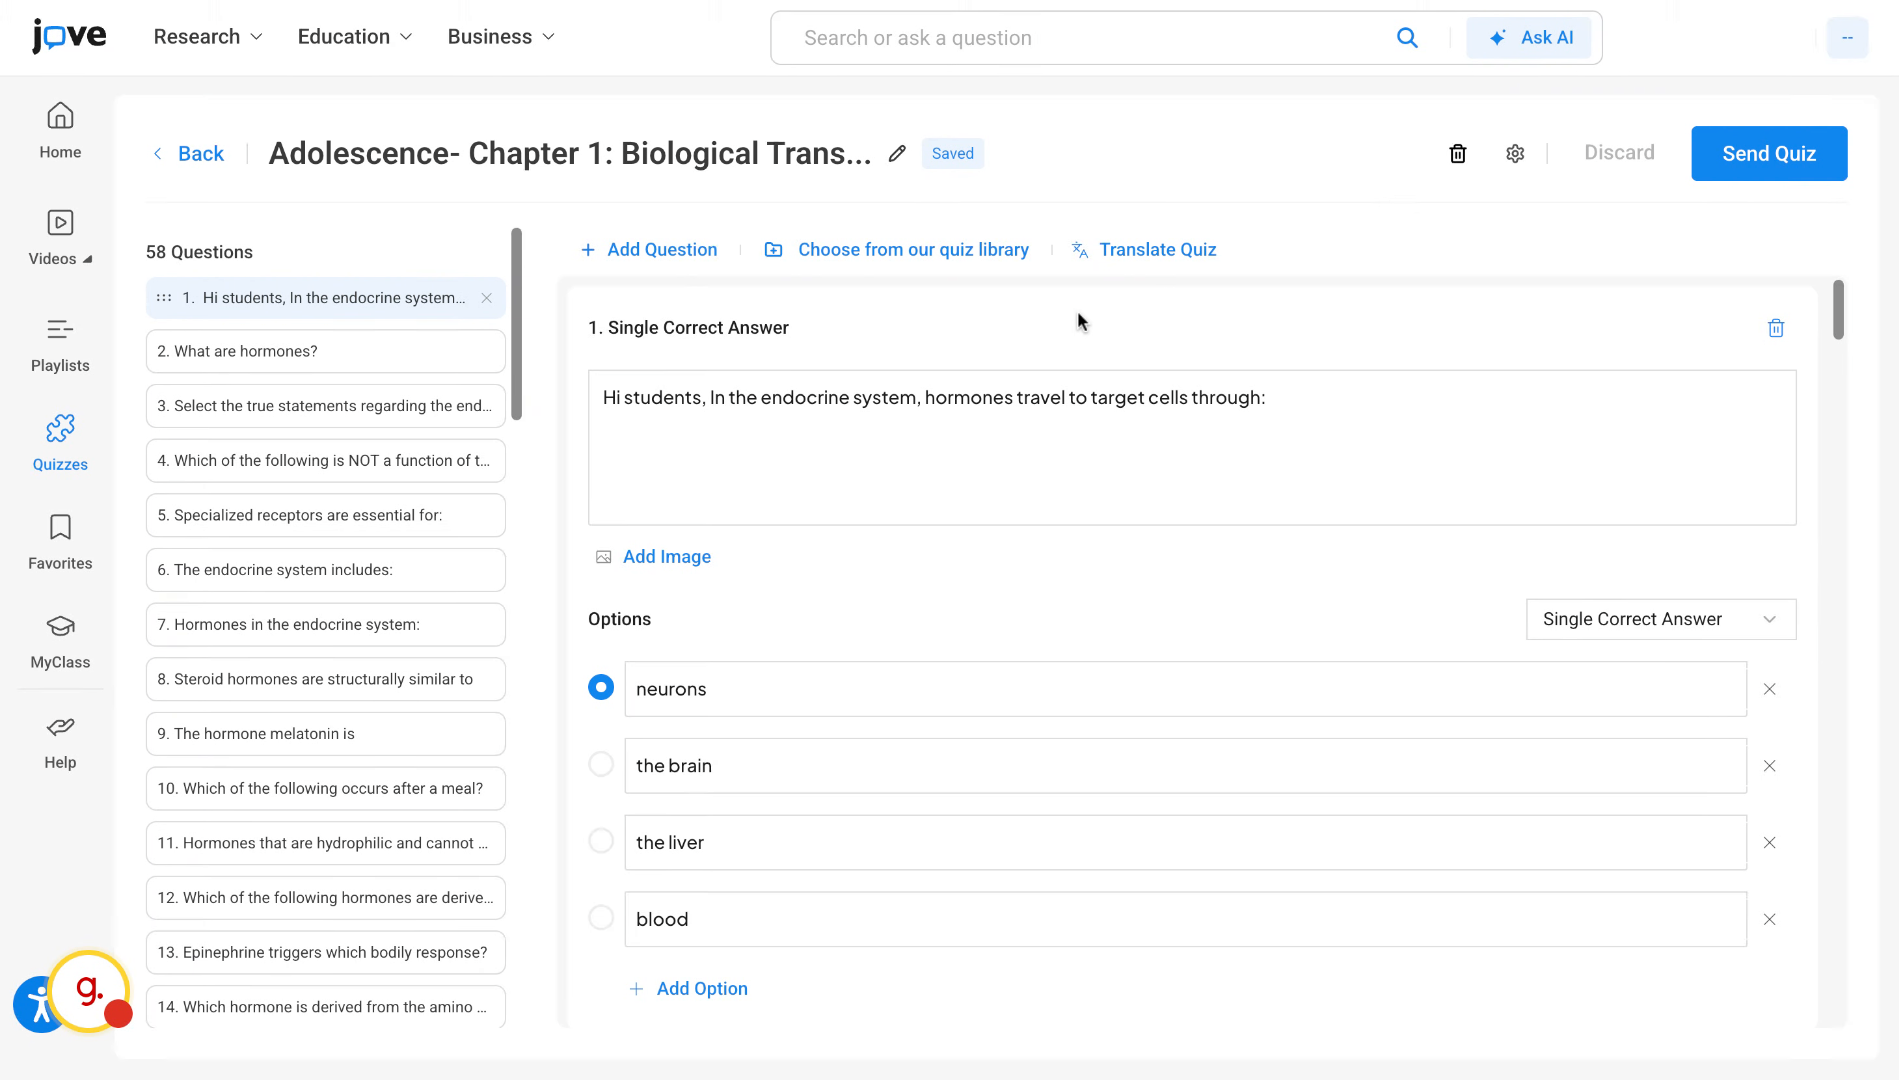
11. Use Quiz Builder Editing Features
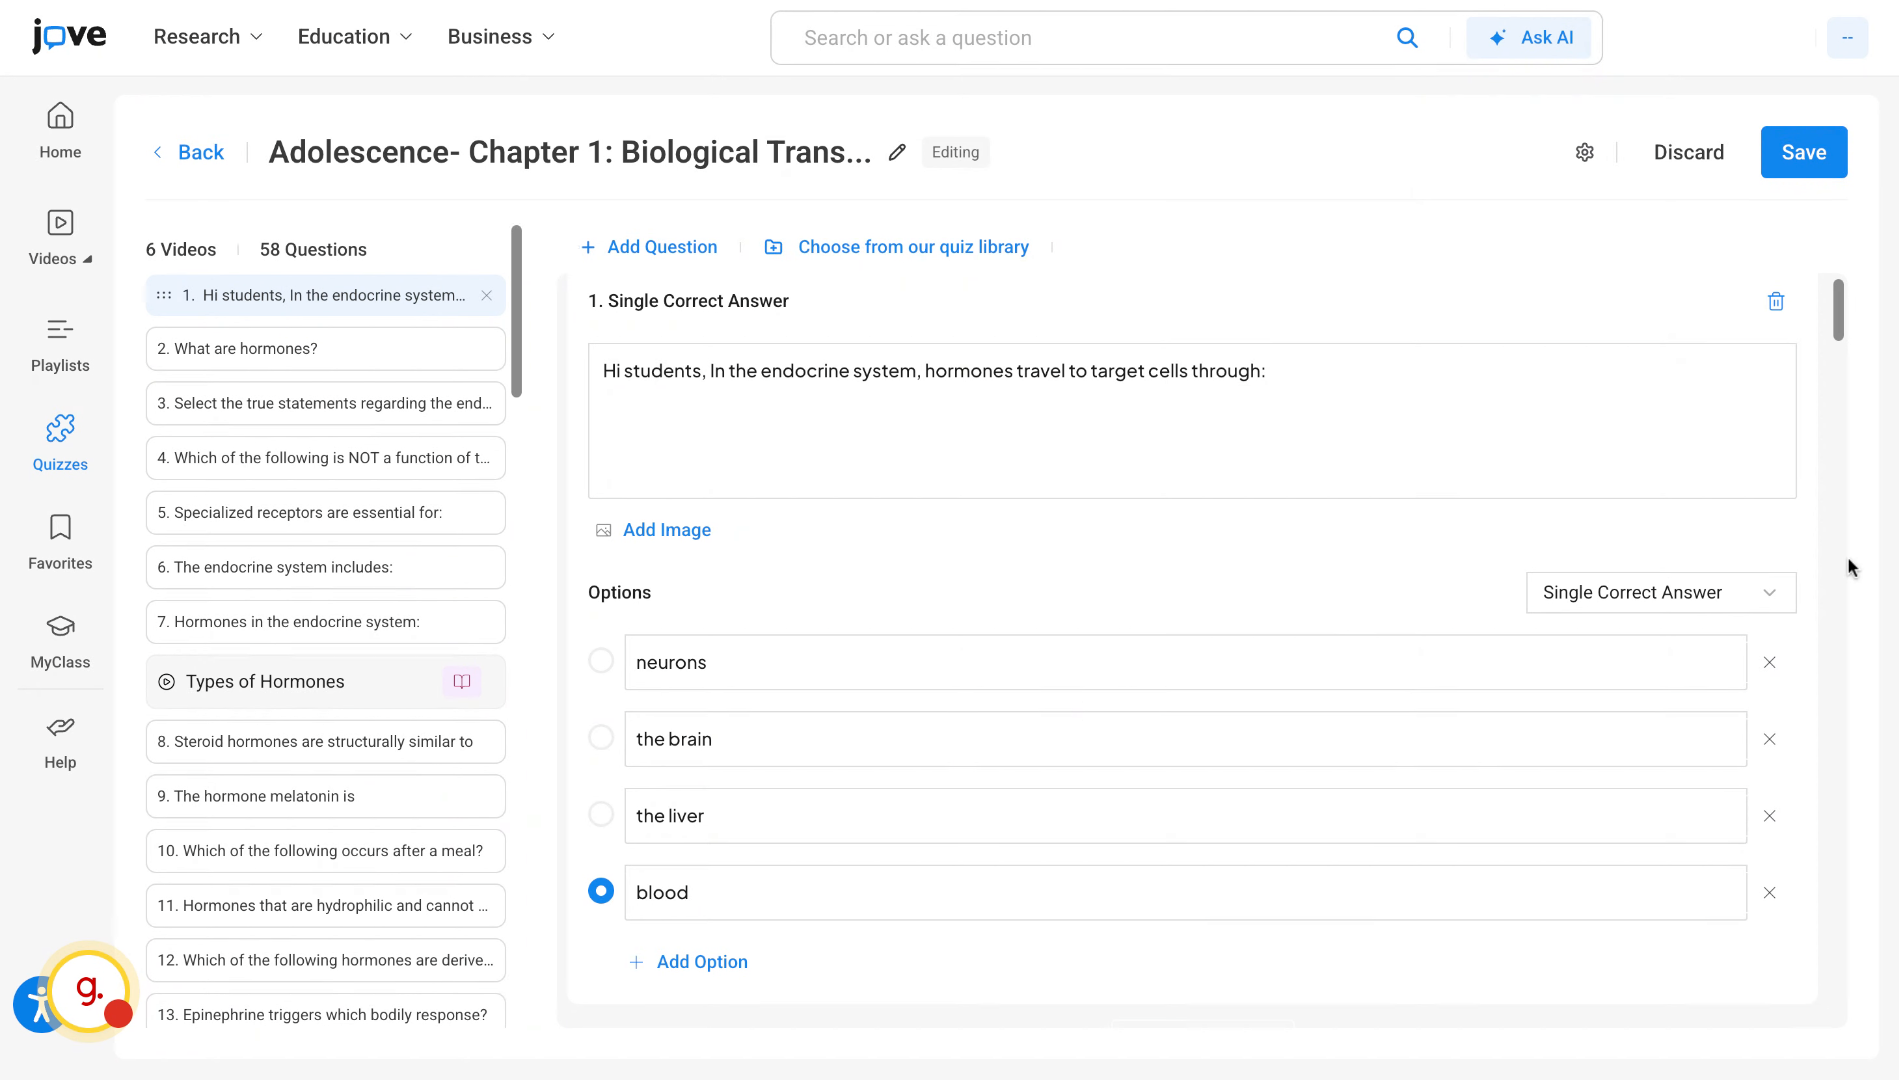
Here the user can remove individual videos, questions, and if required, make changes to the questions and even add more quiz items.
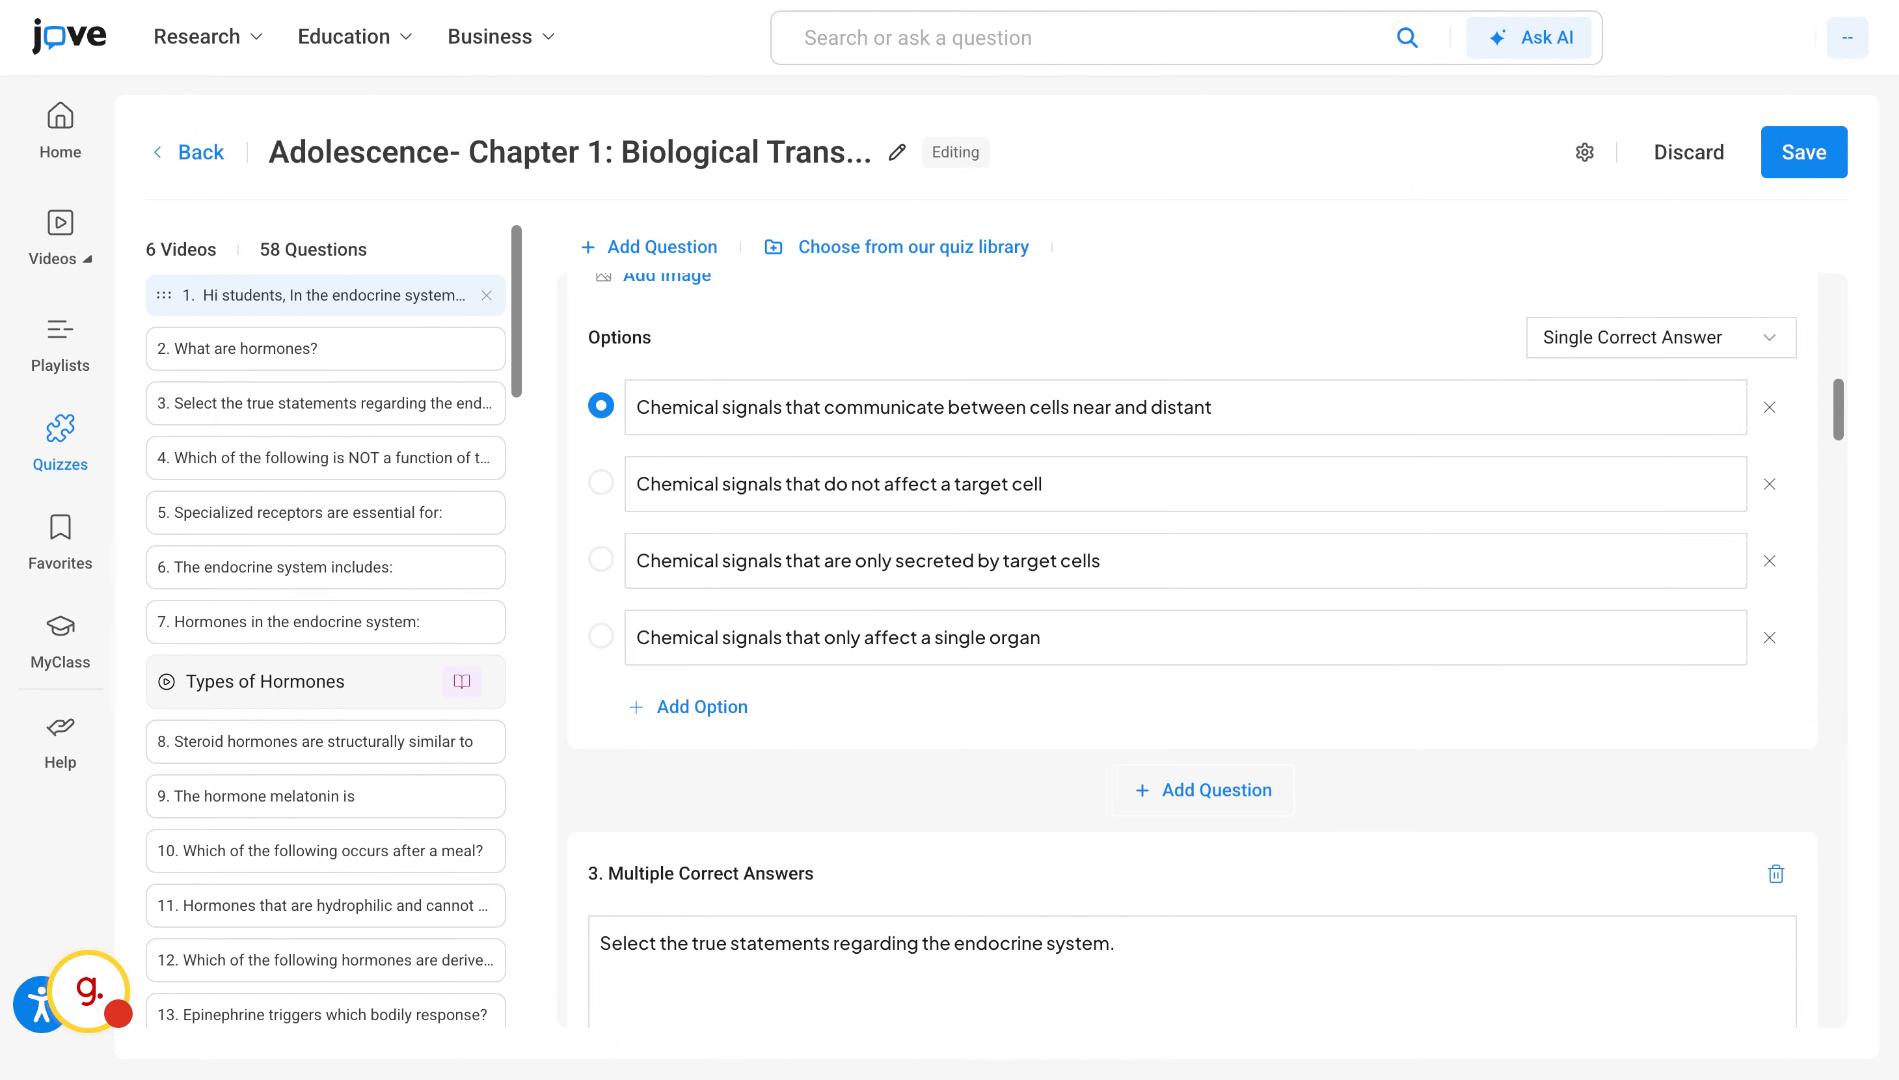
12. Navigate Between Quiz Questions
The users can also switch between the question types through this drop down.
13. Save Quiz Settings (1)
Once the user has confirmed the content of the quiz, the user can click on save button. He can then edit the quiz settings and click on done to save the quiz.
14. Set Quiz Start And End Dates
If there is no end date, that means that the quiz is indefinite and will have no deadline.
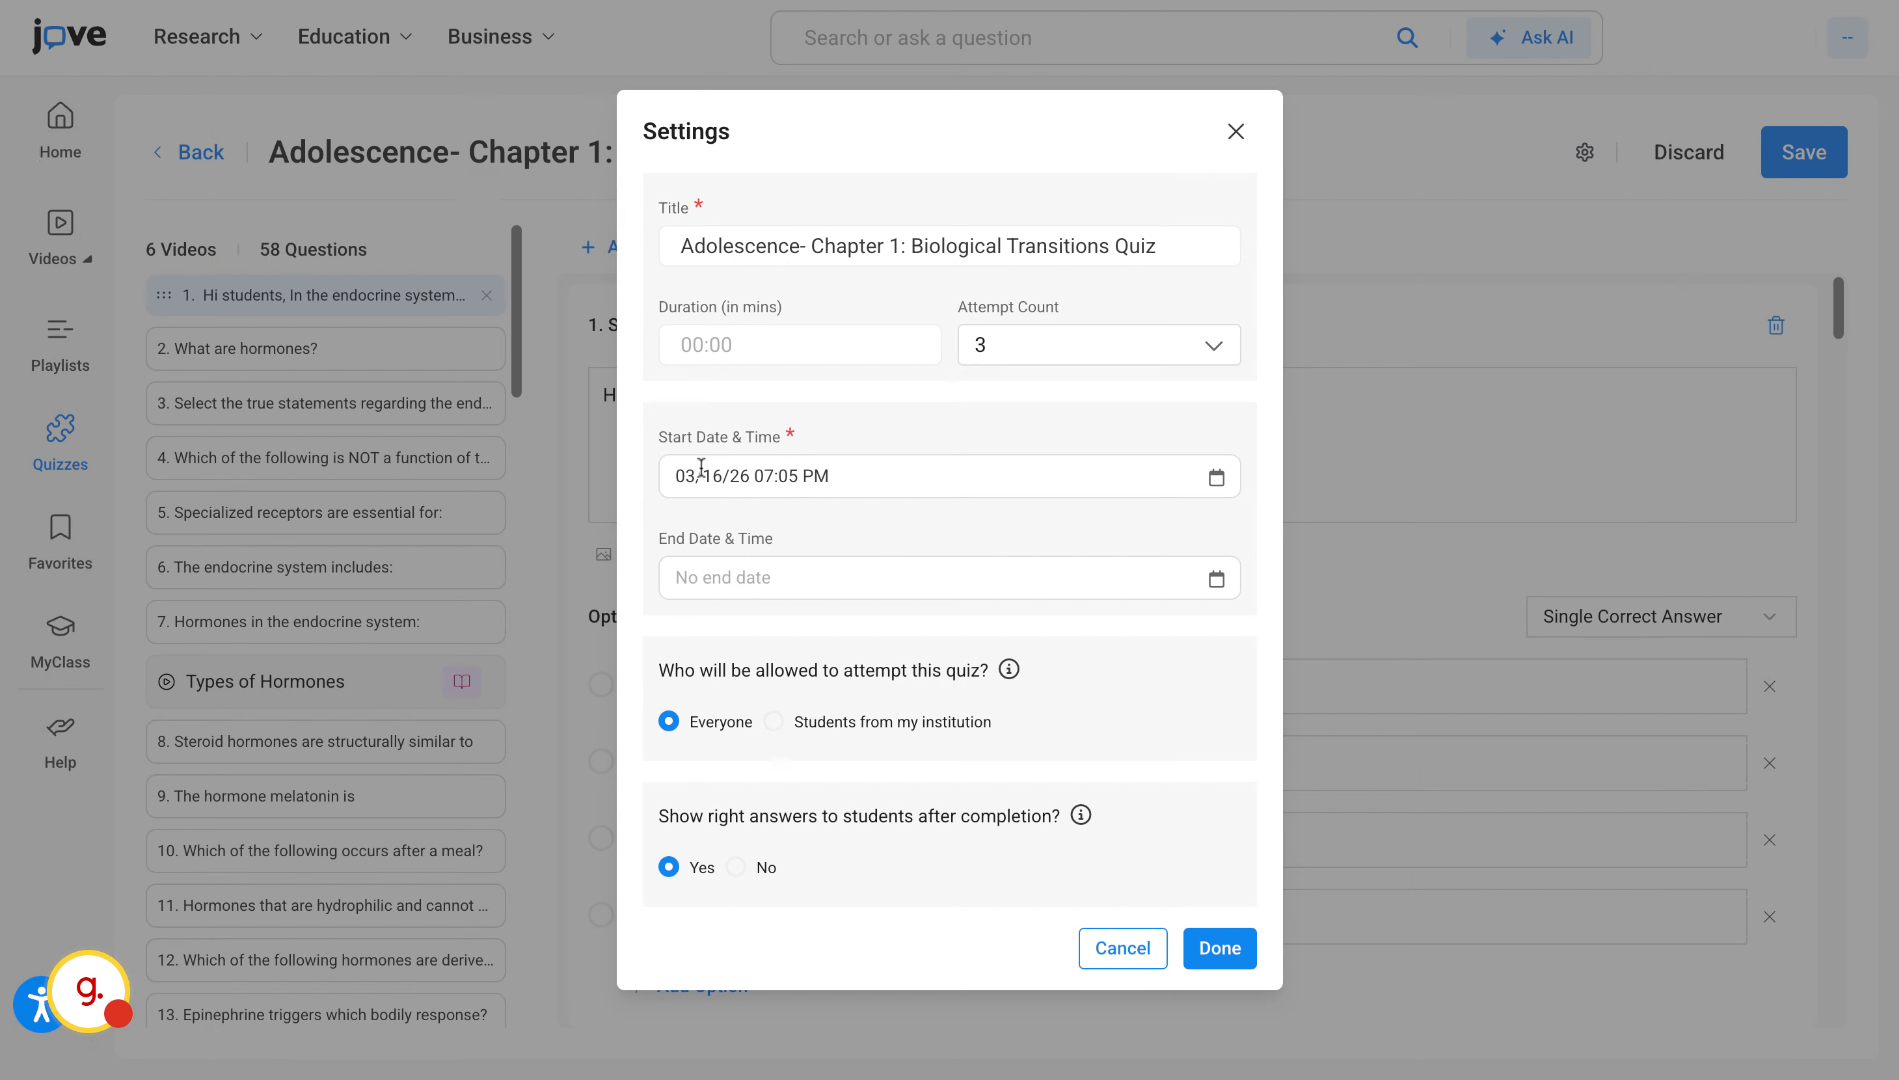
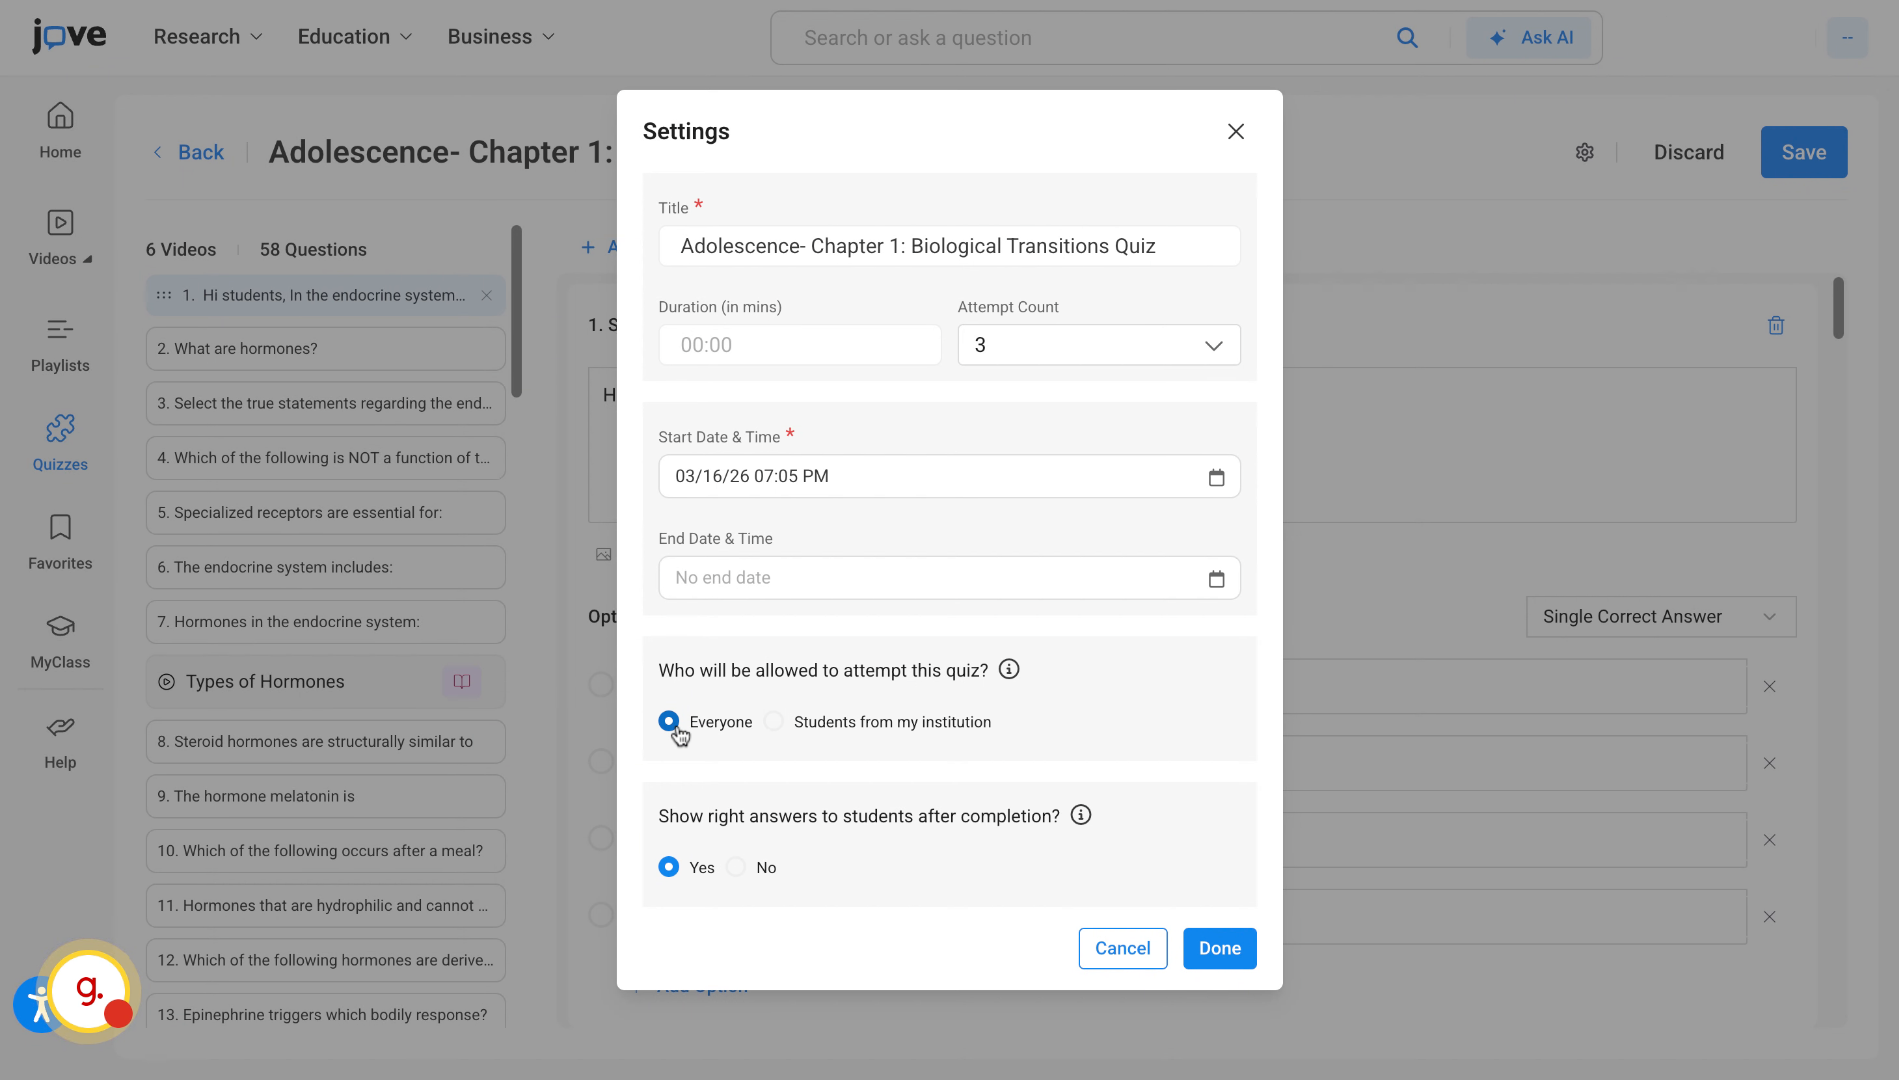
15. Configure Quiz Attempt Permissions (1)
The user can also change the settings for who will be allowed to attempt this quiz. The user will have to select students from my institution if they only want students with the email domain that is mapped to the professor's institute to attempt the quiz. And if the professor wants any student or any user to be able to attempt the quiz, then they have to select everyone.
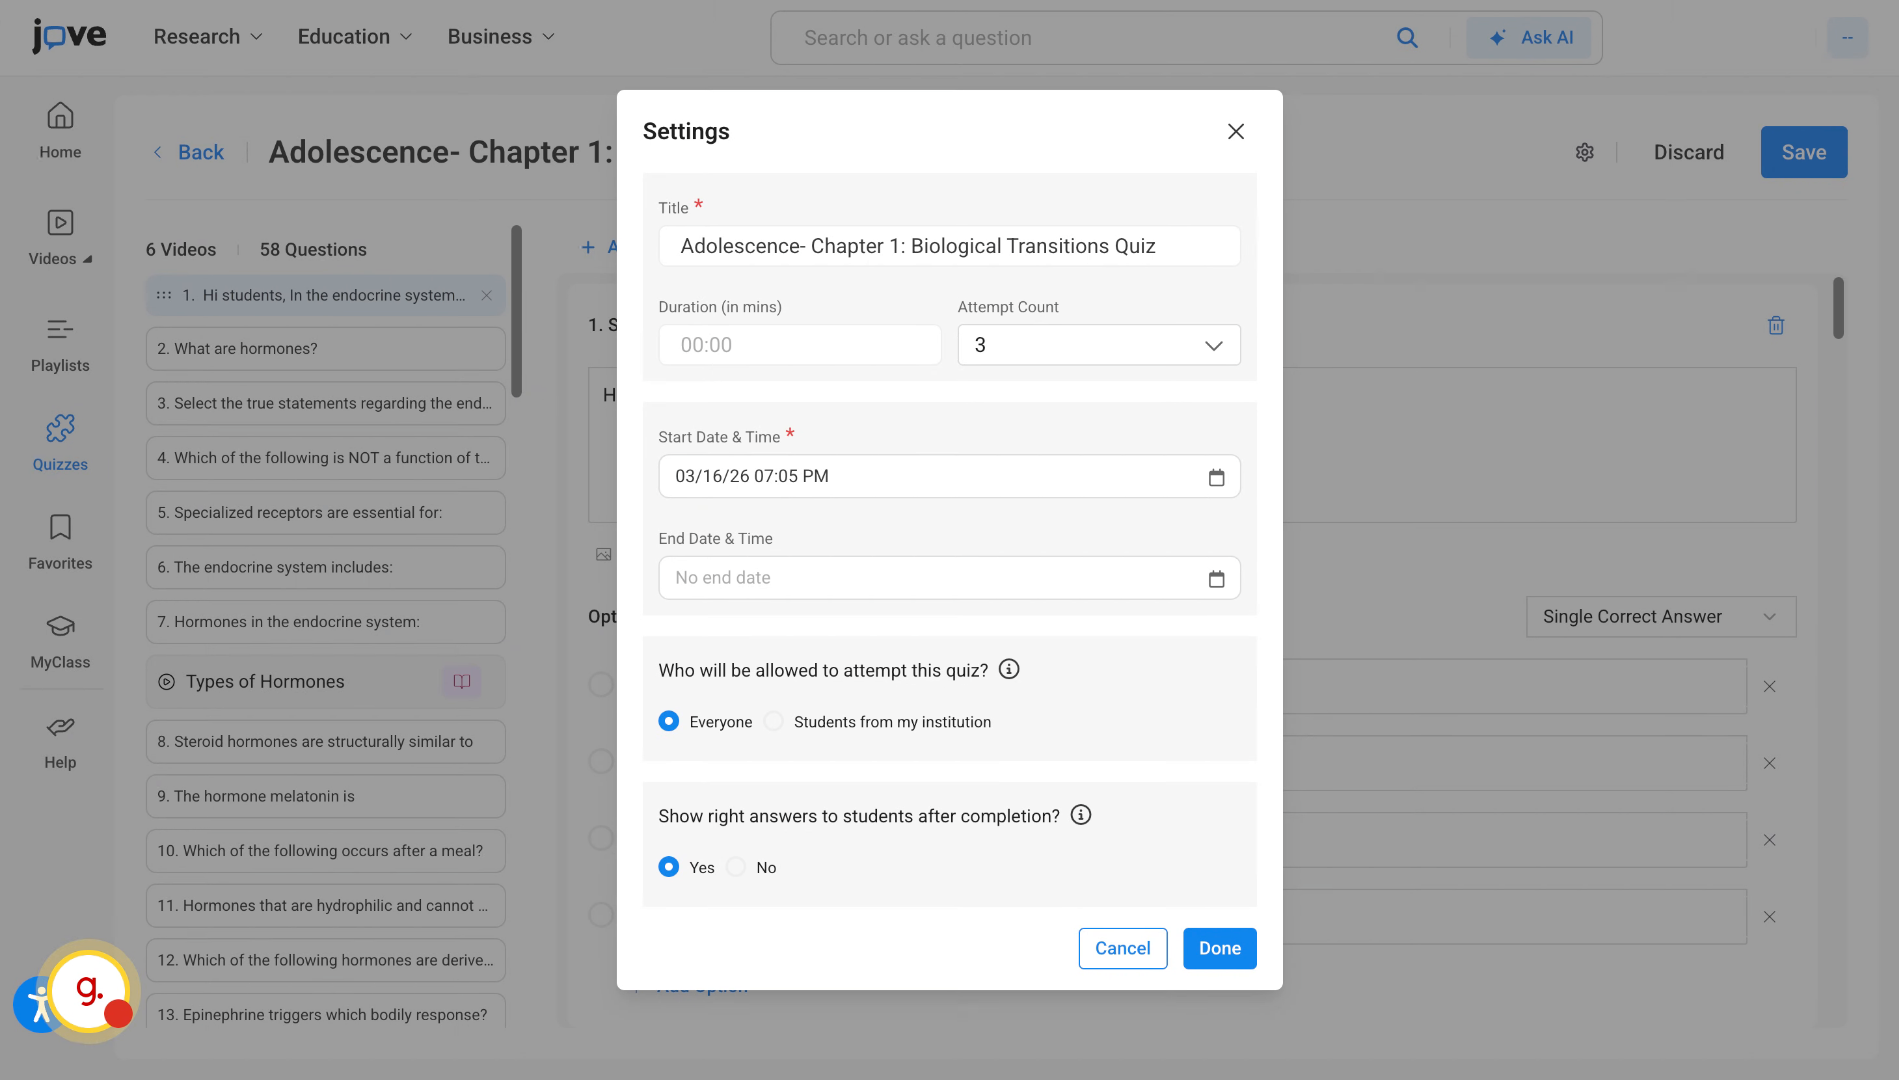
16. Choose To Show Correct Answers (1)
If the professor wants to show the right answers to students after they have completed the quiz, they'll have to select yes here. And if the professor does not want the answers to be shown after submitting the quiz, then they can select no here.
17. Finalize And Save Quiz Settings (1)
Once these quest settings have been finalized

18. Finalize And Save Quiz Settings (2) (2) (1)
the user will have to click on done.

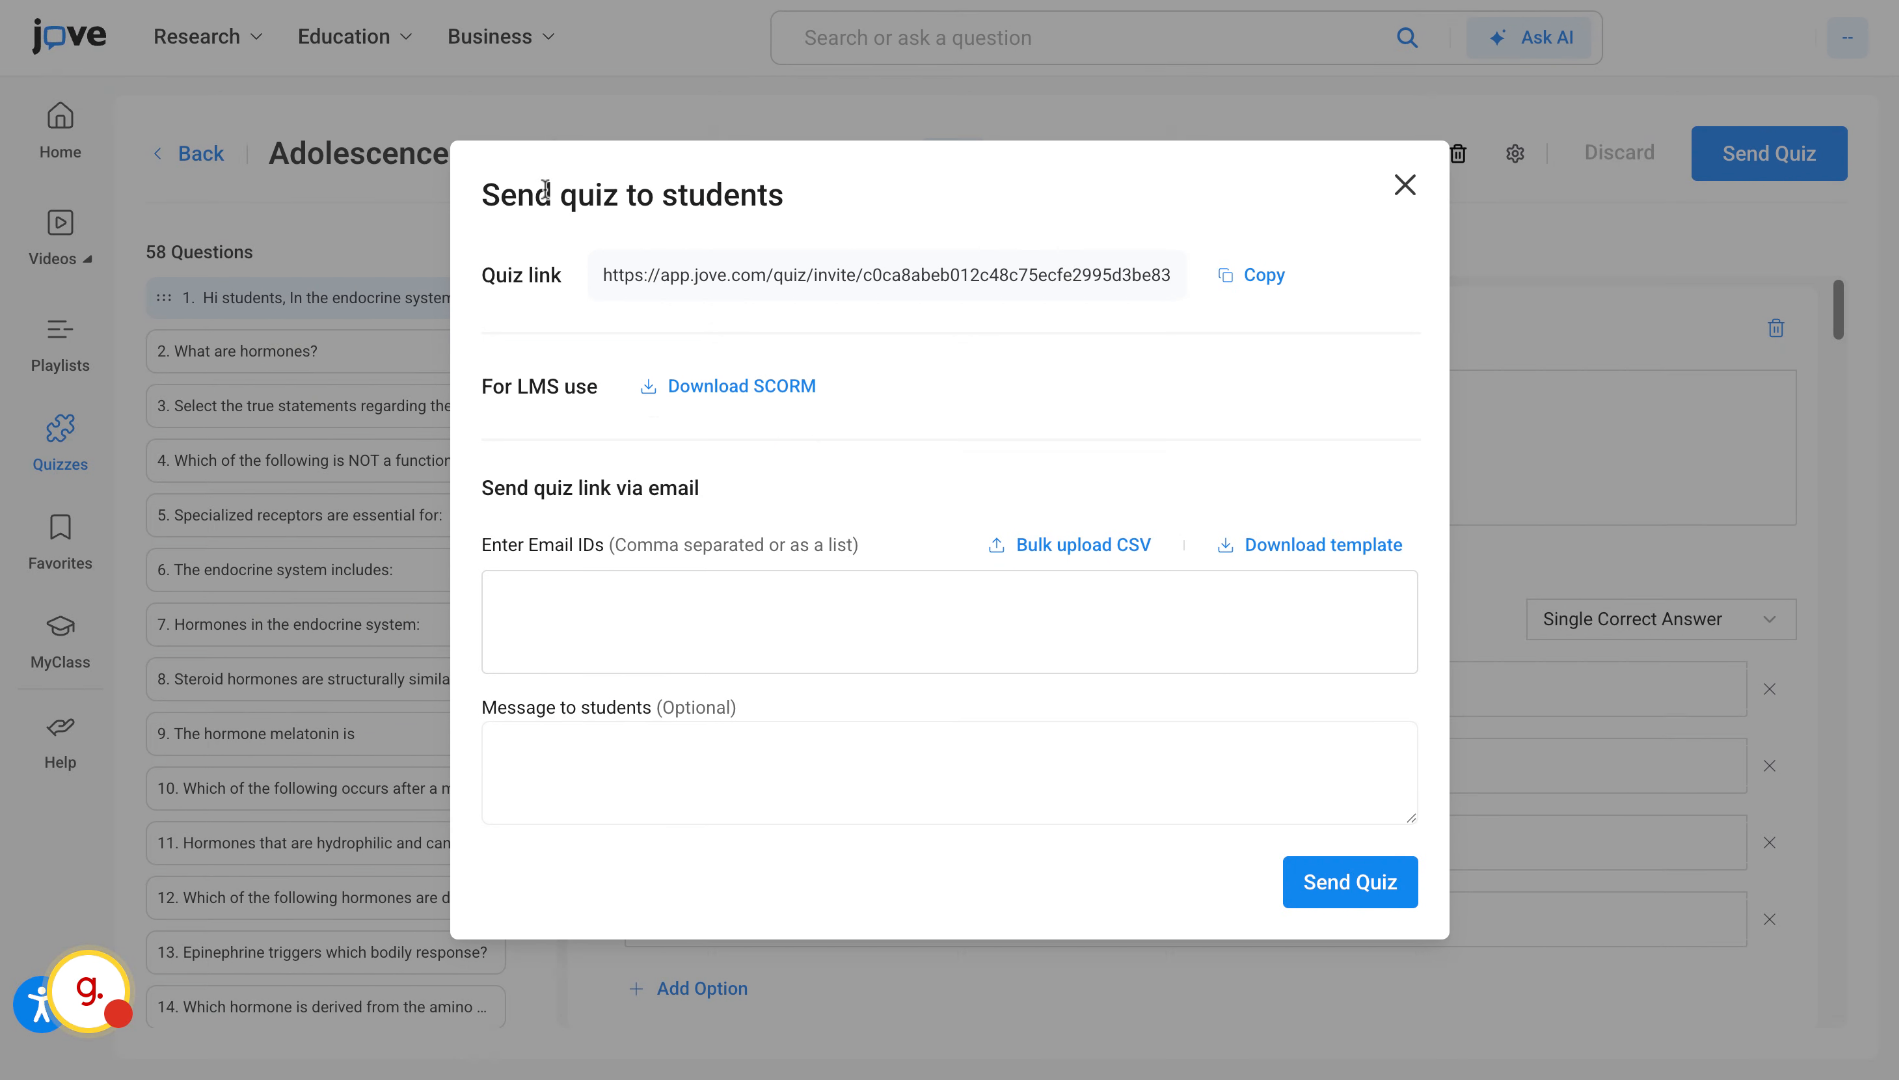
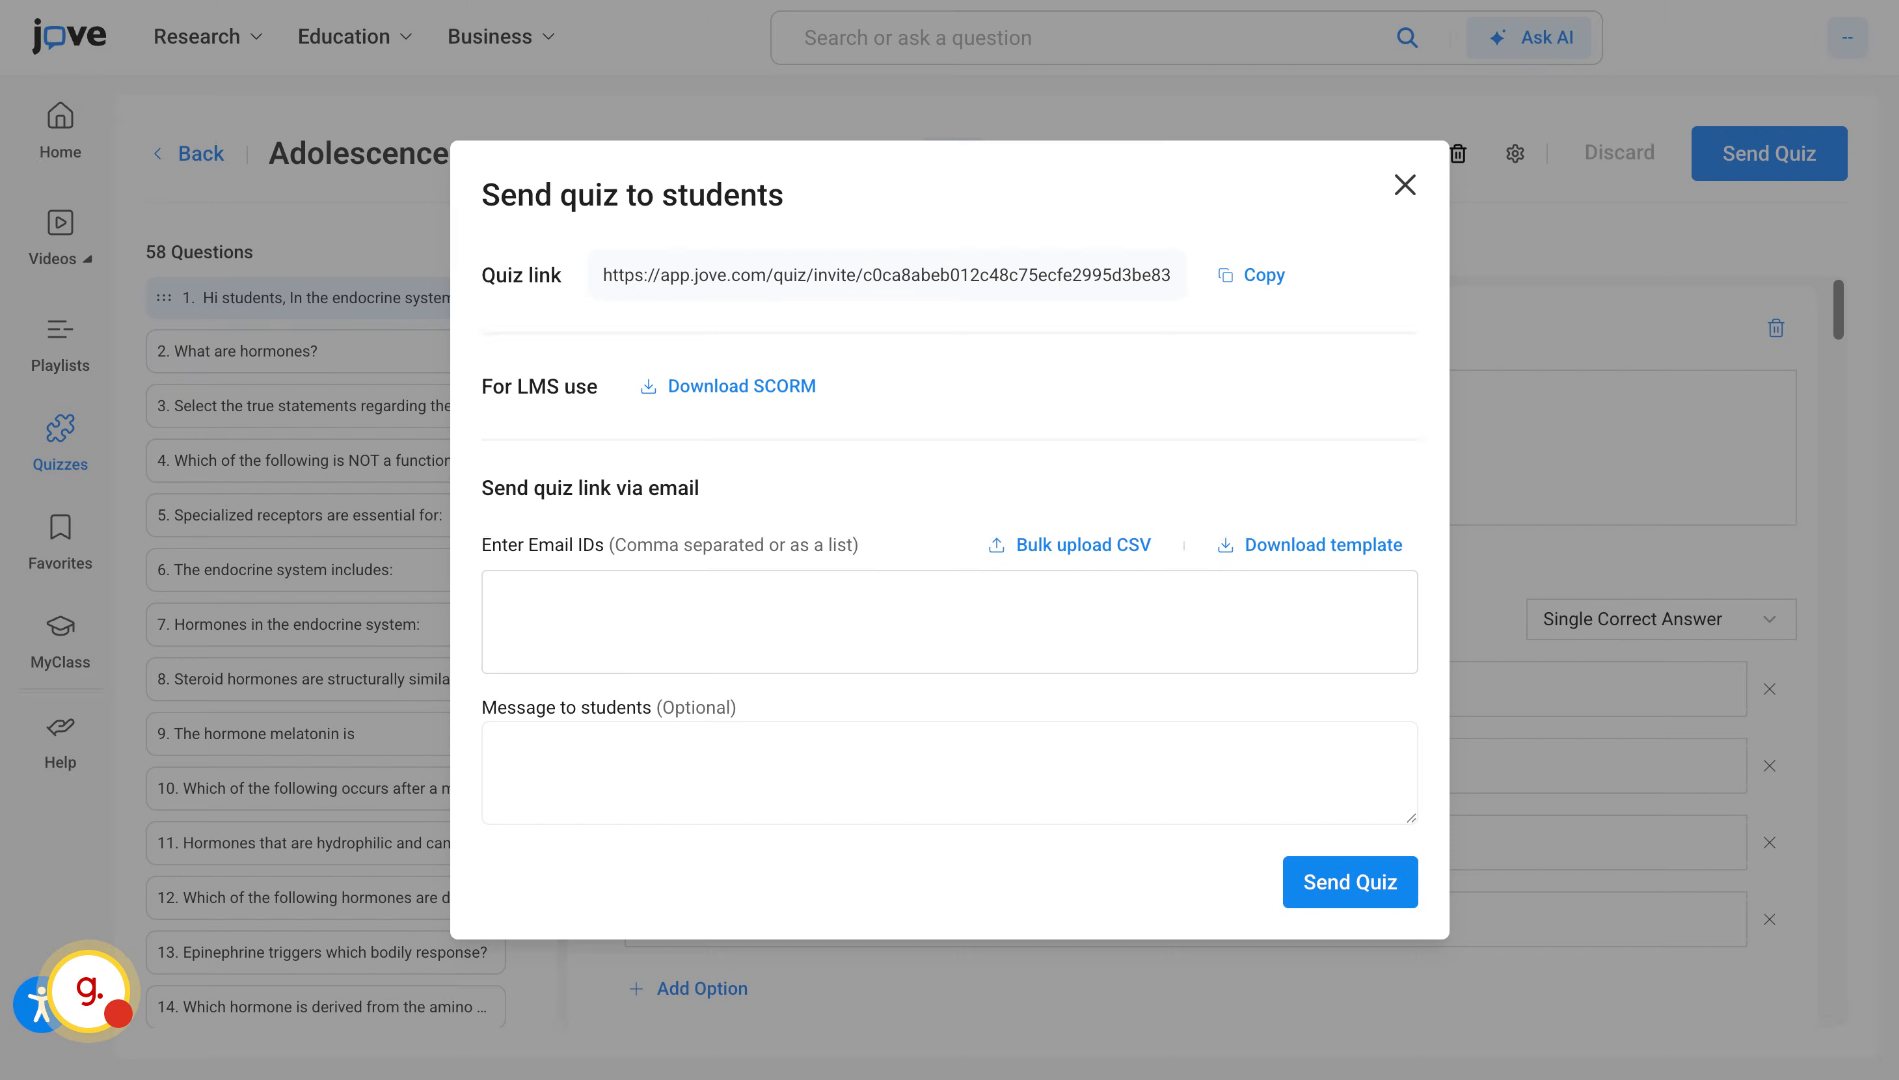
19. Share Quizzes With Students
The quiz will then be saved. The user can then directly share quizzes and distribute this quiz to students for attempting. They can do so by putting in the student mails or uploading the CSV that contains all mails and clicking on Send Quiz button.
20. Understand Post-Distribution Restrictions
Note that once the quiz has been distributed to students for attempt, the professor will not be able to make any changes to the quiz content.
21. Adjust Quiz After Student Attempts (1)
The only thing that the user can do after the student attempts, is to extend the deadline or increase the number of counts allowed per student.

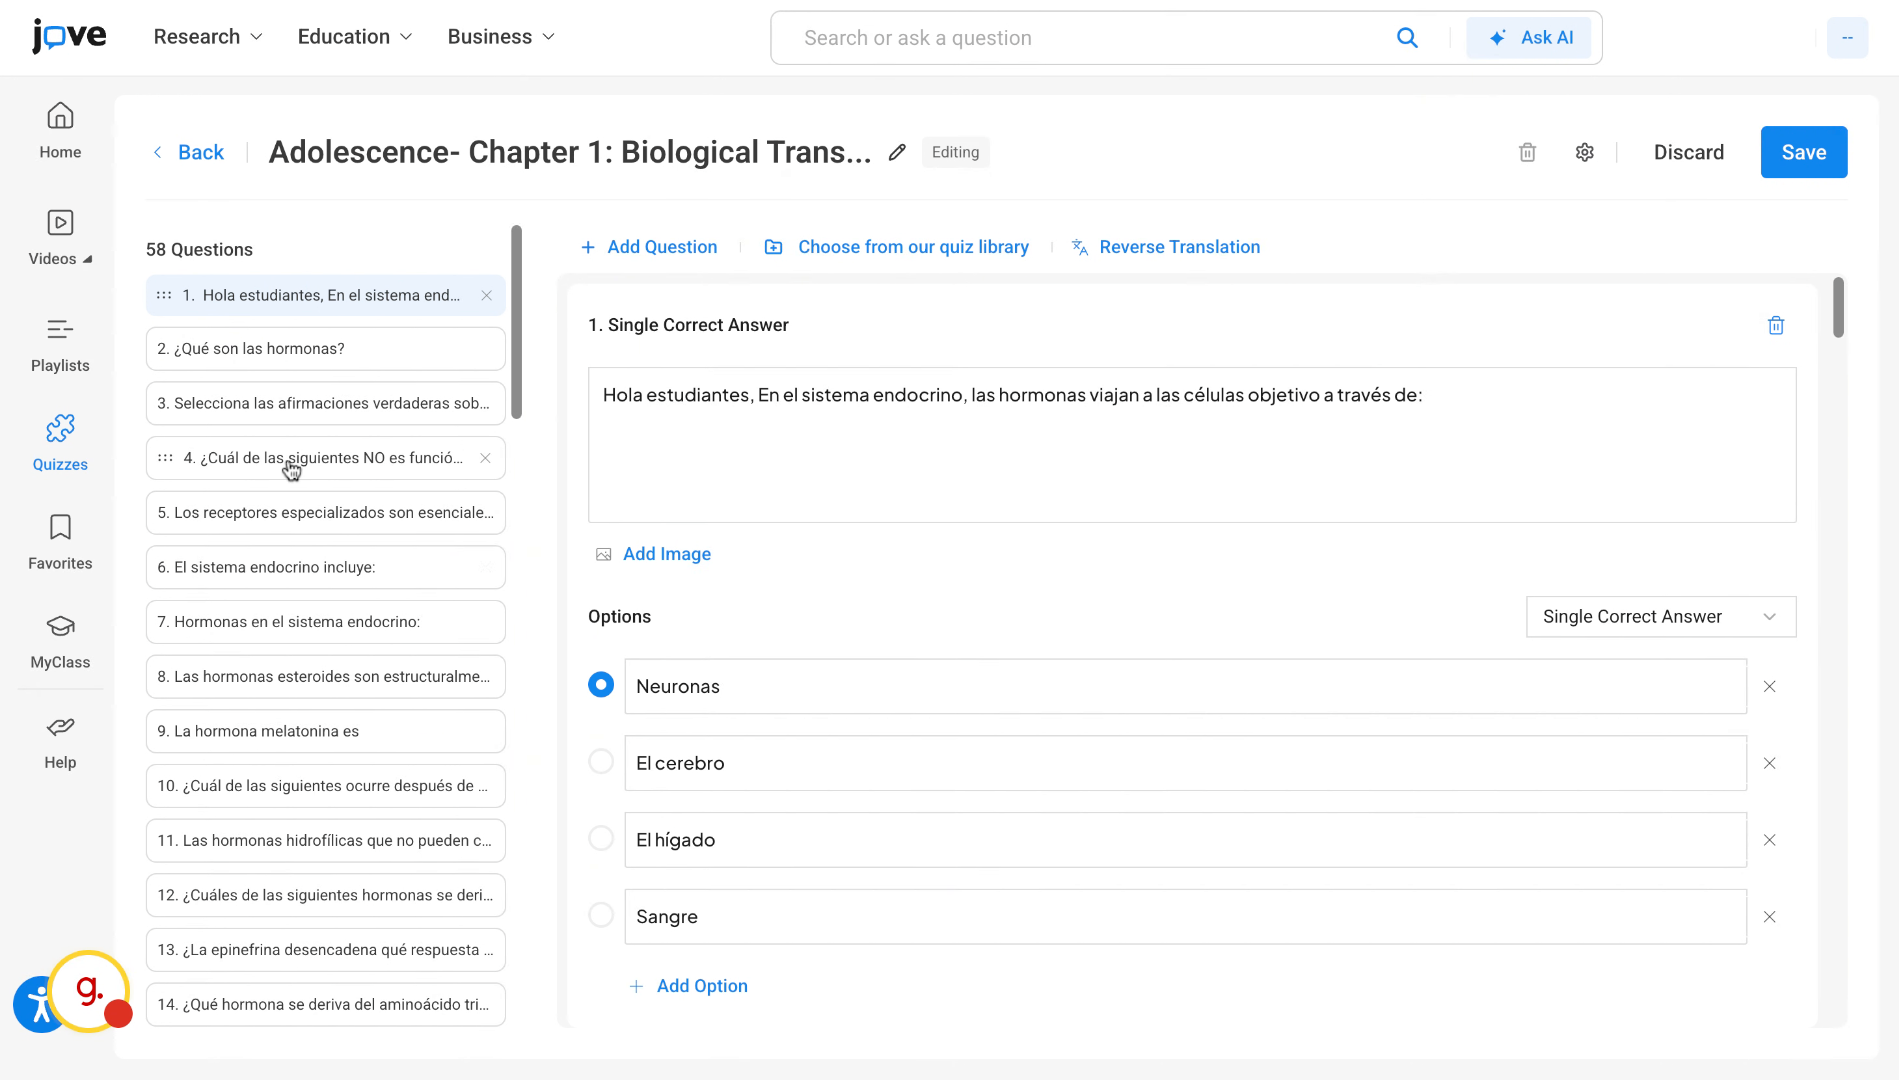
22. Translate Quiz Into Different Languages
The professor can translate the quiz into different languages once the quiz has been saved. This is done by clicking the translate quiz button, selecting the language, and then clicking translate quiz button.
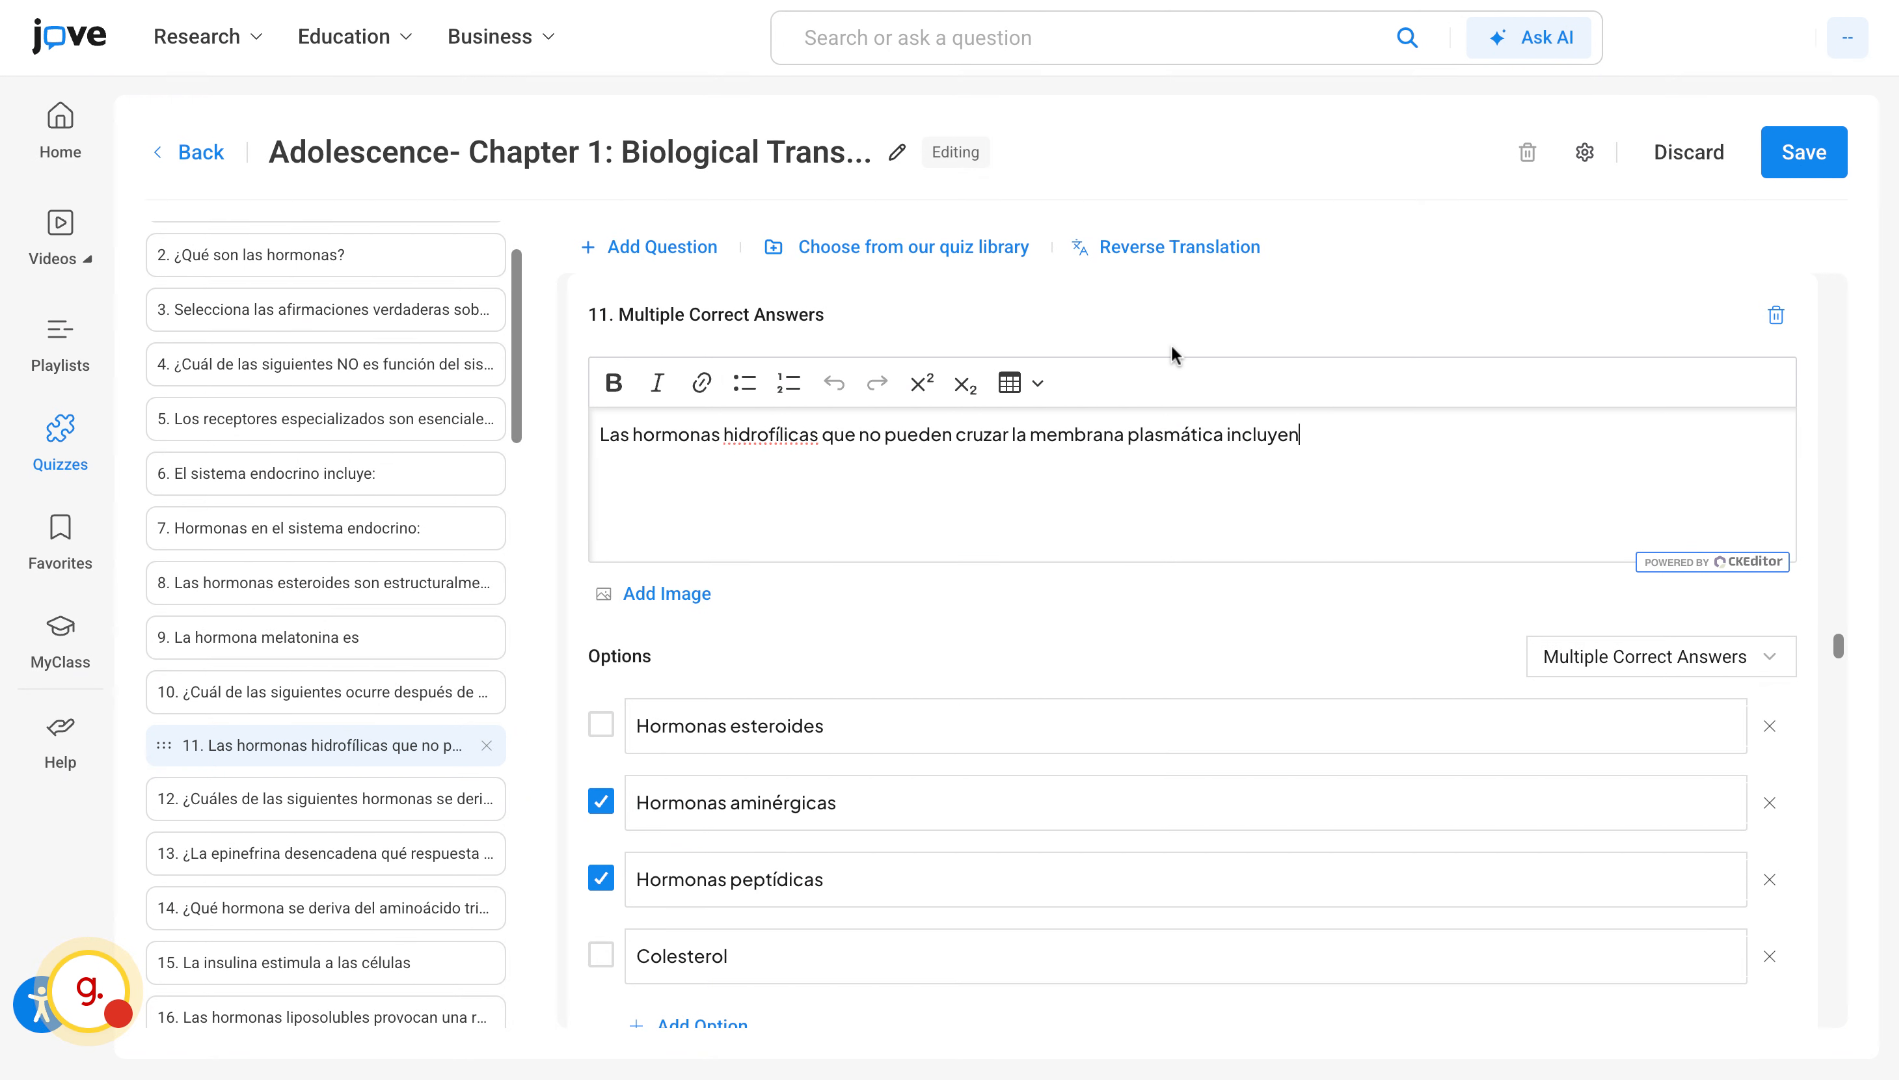
23. Review And Save Translations (1)
once the translation is over, the user can then check each of the questions, make any changes where required, and click on save.
24. Revert Quiz To Last Saved State
The user can also revert back to the last save state by clicking on the reverse translation button.
Related to