Creating a New Account on Jove Platform
This video demonstrates the process of creating a new account on the Jove platform. It covers accessing the homepage, completing registration, and verifying your email to activate the account.
1. Accessing Jove Homepage
To create a new account on Jove, type www.jove.com in your web browser and go to the Jove homepage. On the Jove homepage, you will see the sign in button on the top right corner.

2. Navigating Sign In Page
Click on the sign in button. Once you land on the sign in page, click on create a new account.

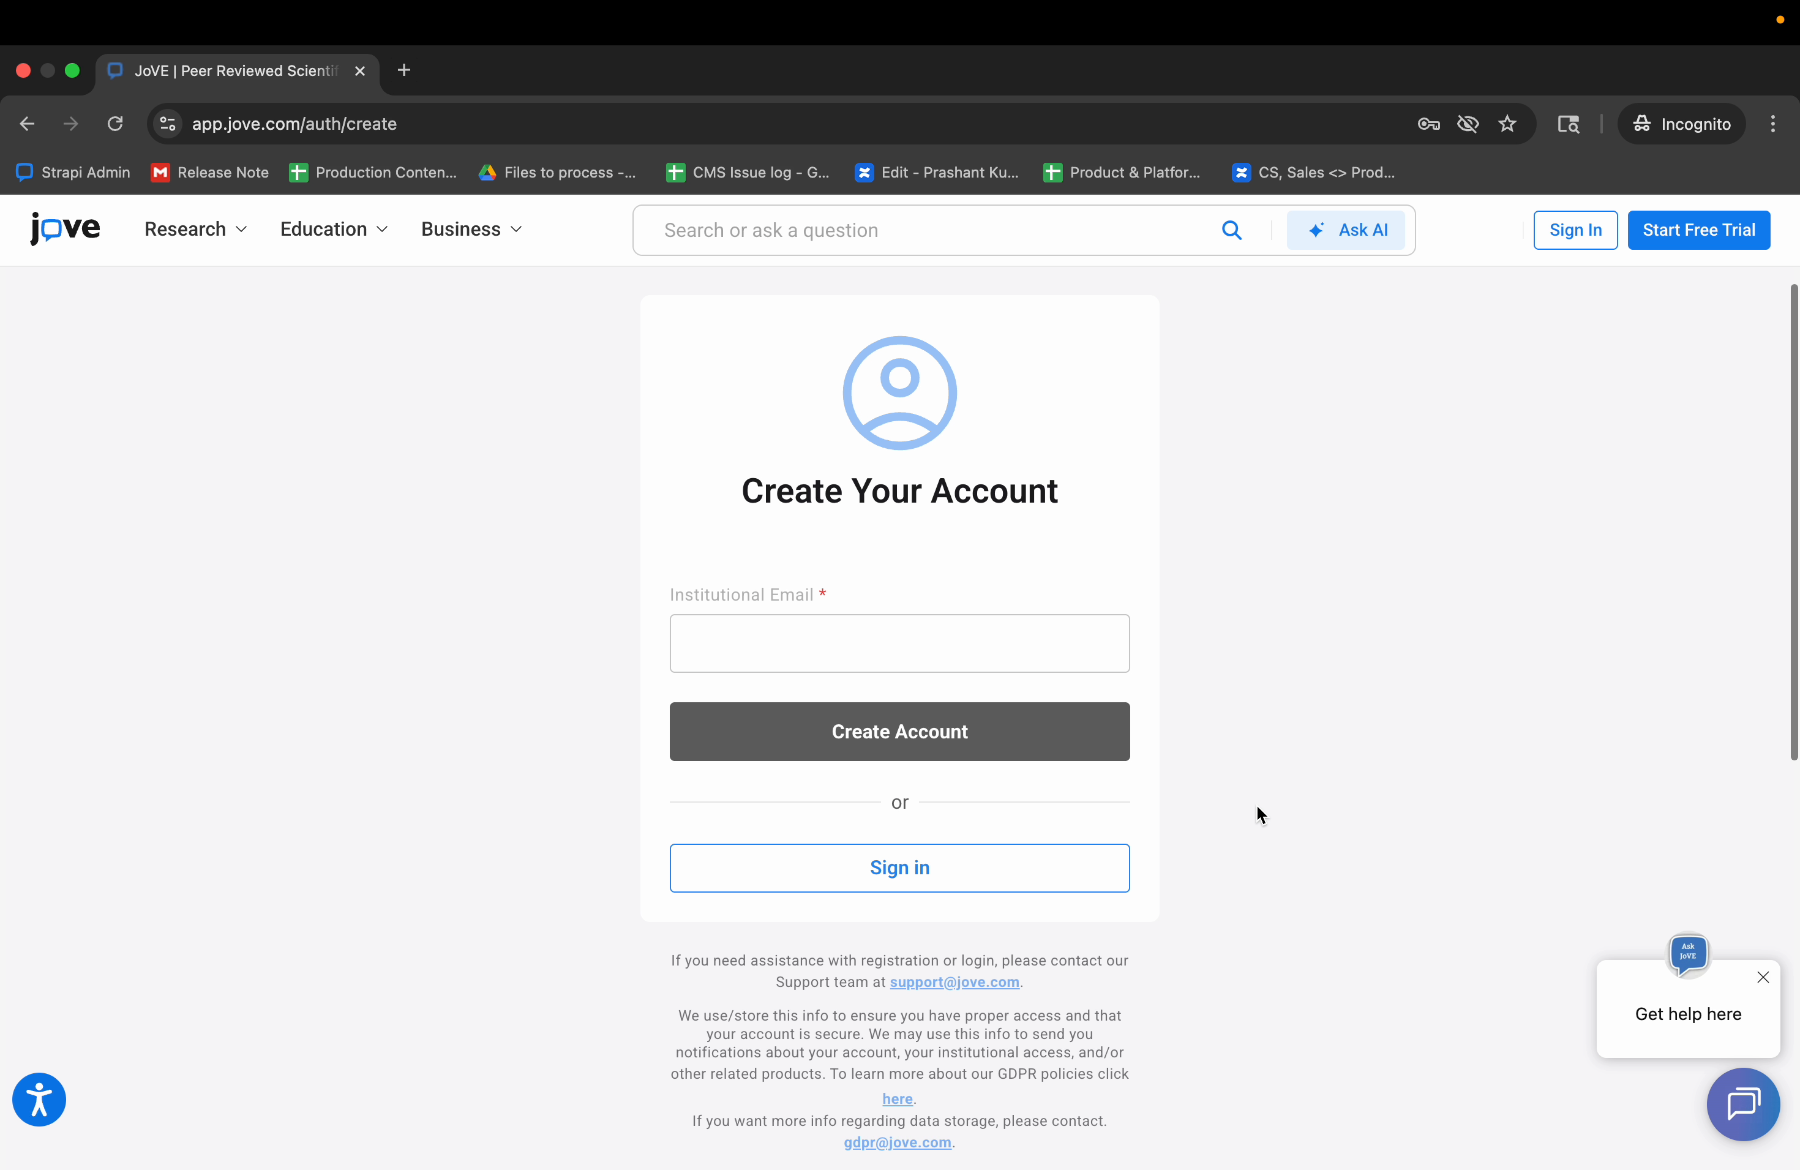
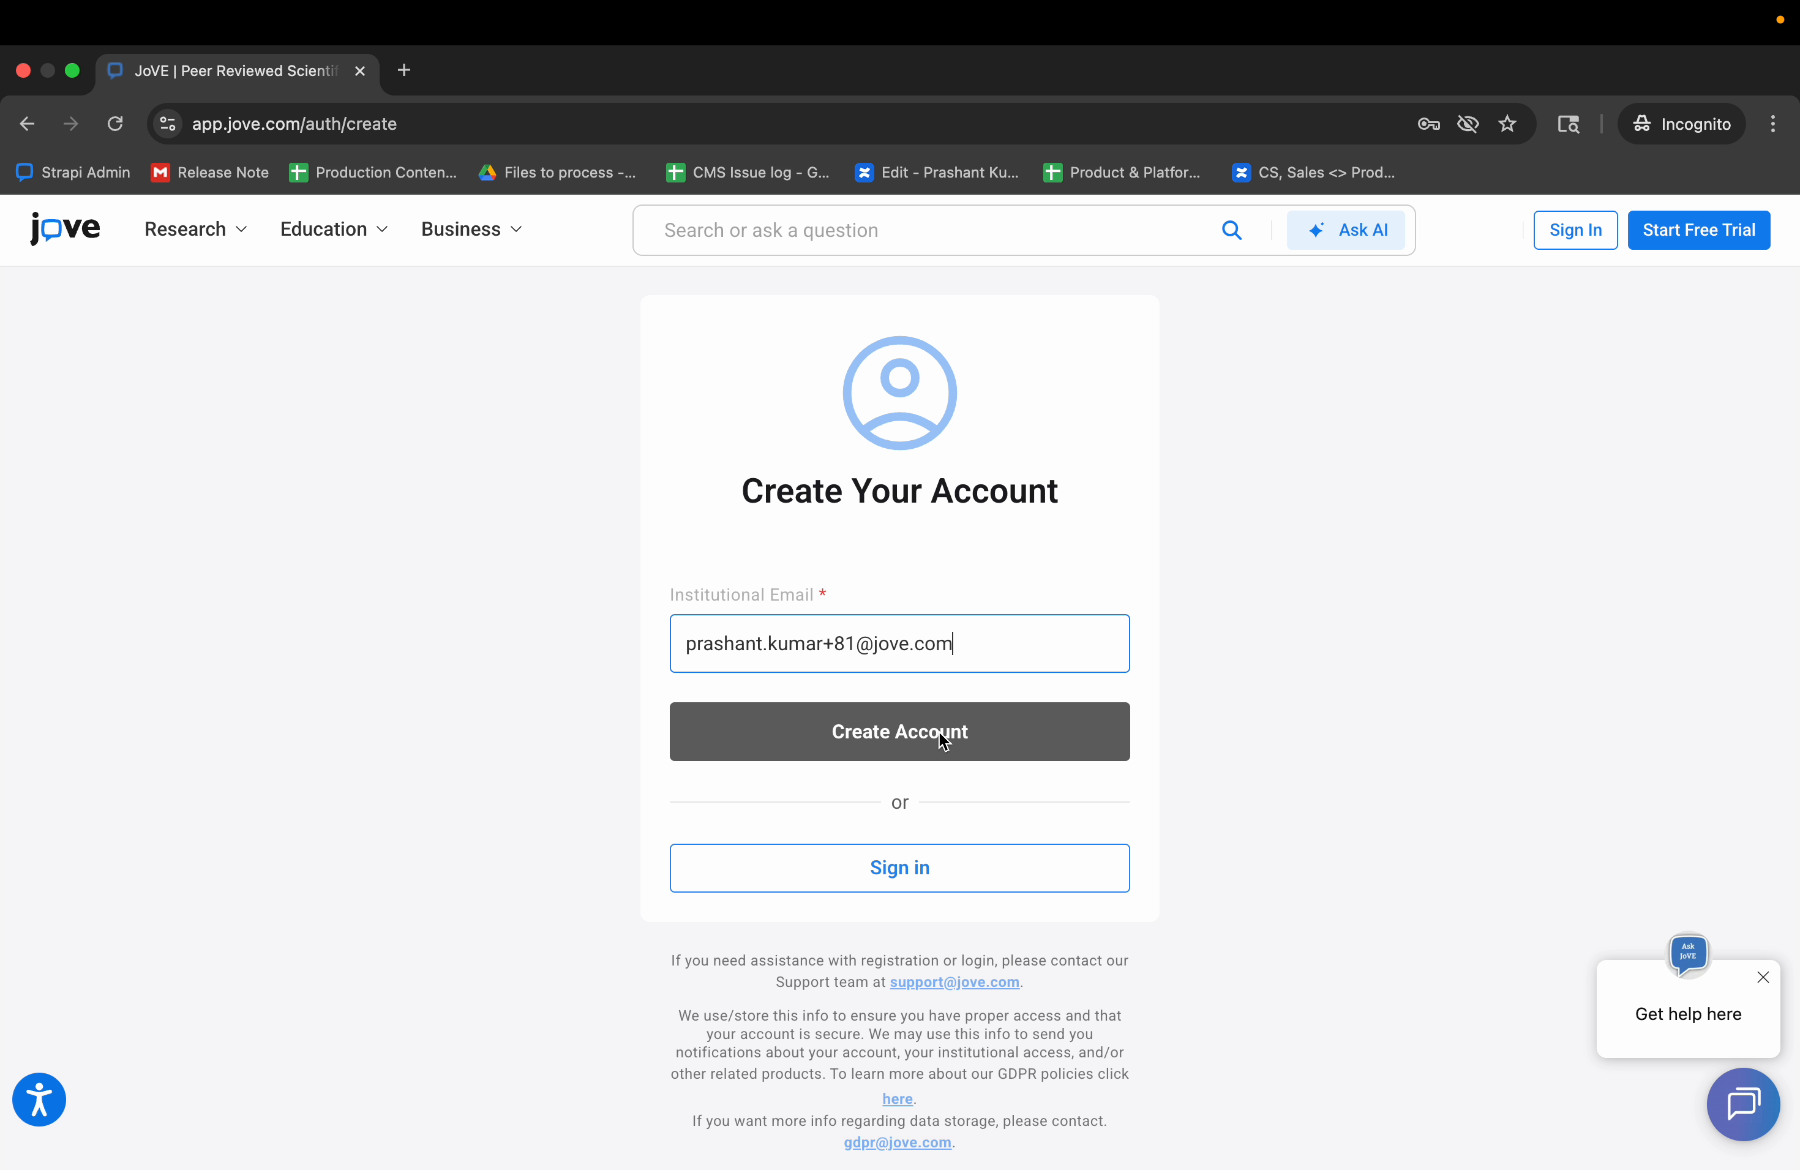
3. Entering Institutional Email
You will see the registration form. To create an account, enter your institutional email address. Once you have entered your institutional email address, click on create account
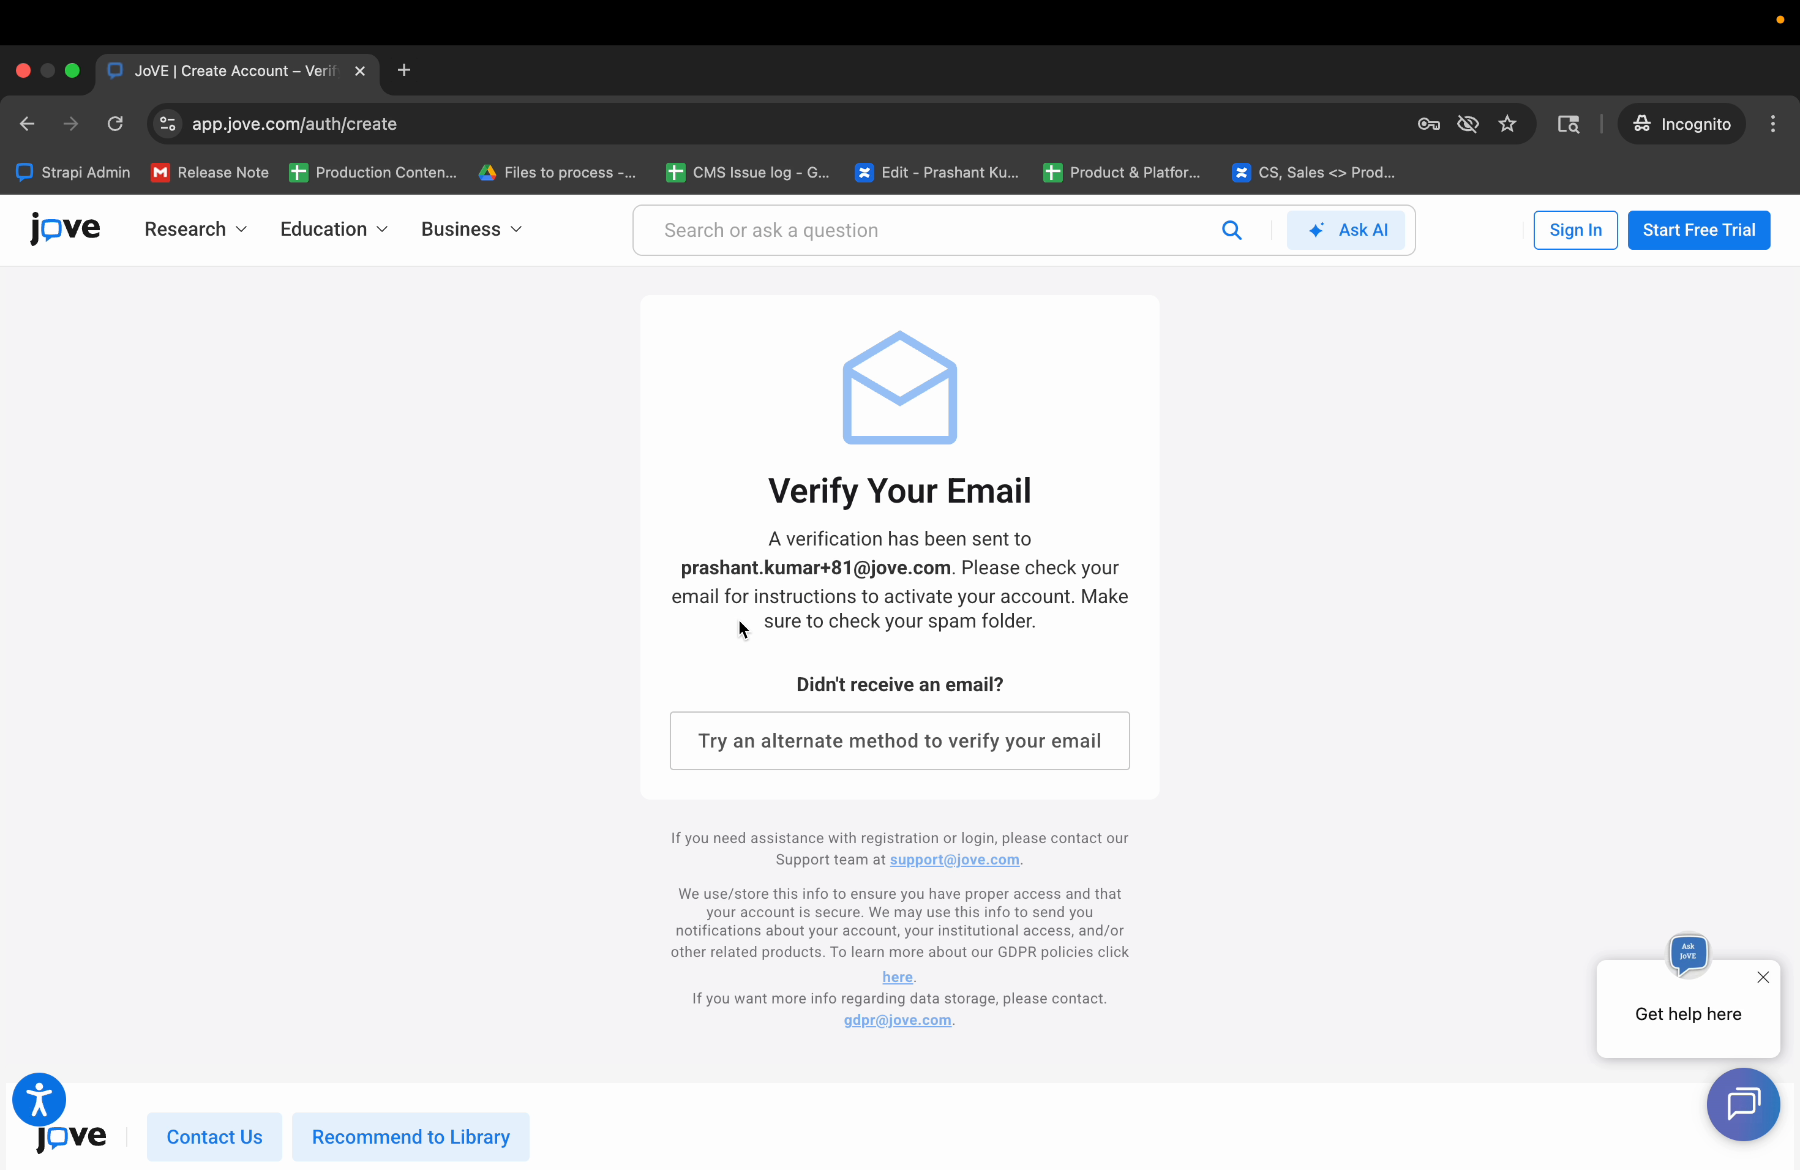
4. Account Creation And Verification Email
You will receive a verification mail sent to your institutional email address. Check your email for instructions to activate your account.
5. Checking Verification Email (1)
Also make sure to check your spam folder in case you haven't received the mail in your inbox.
6. Checking Verification Email (2) (2)
Open the verification email and click on the link to verify your jove account.
7. Confirming Email And Registration Form
After you click on confirm email, you will receive a registration form in which you will be required to fill your information.
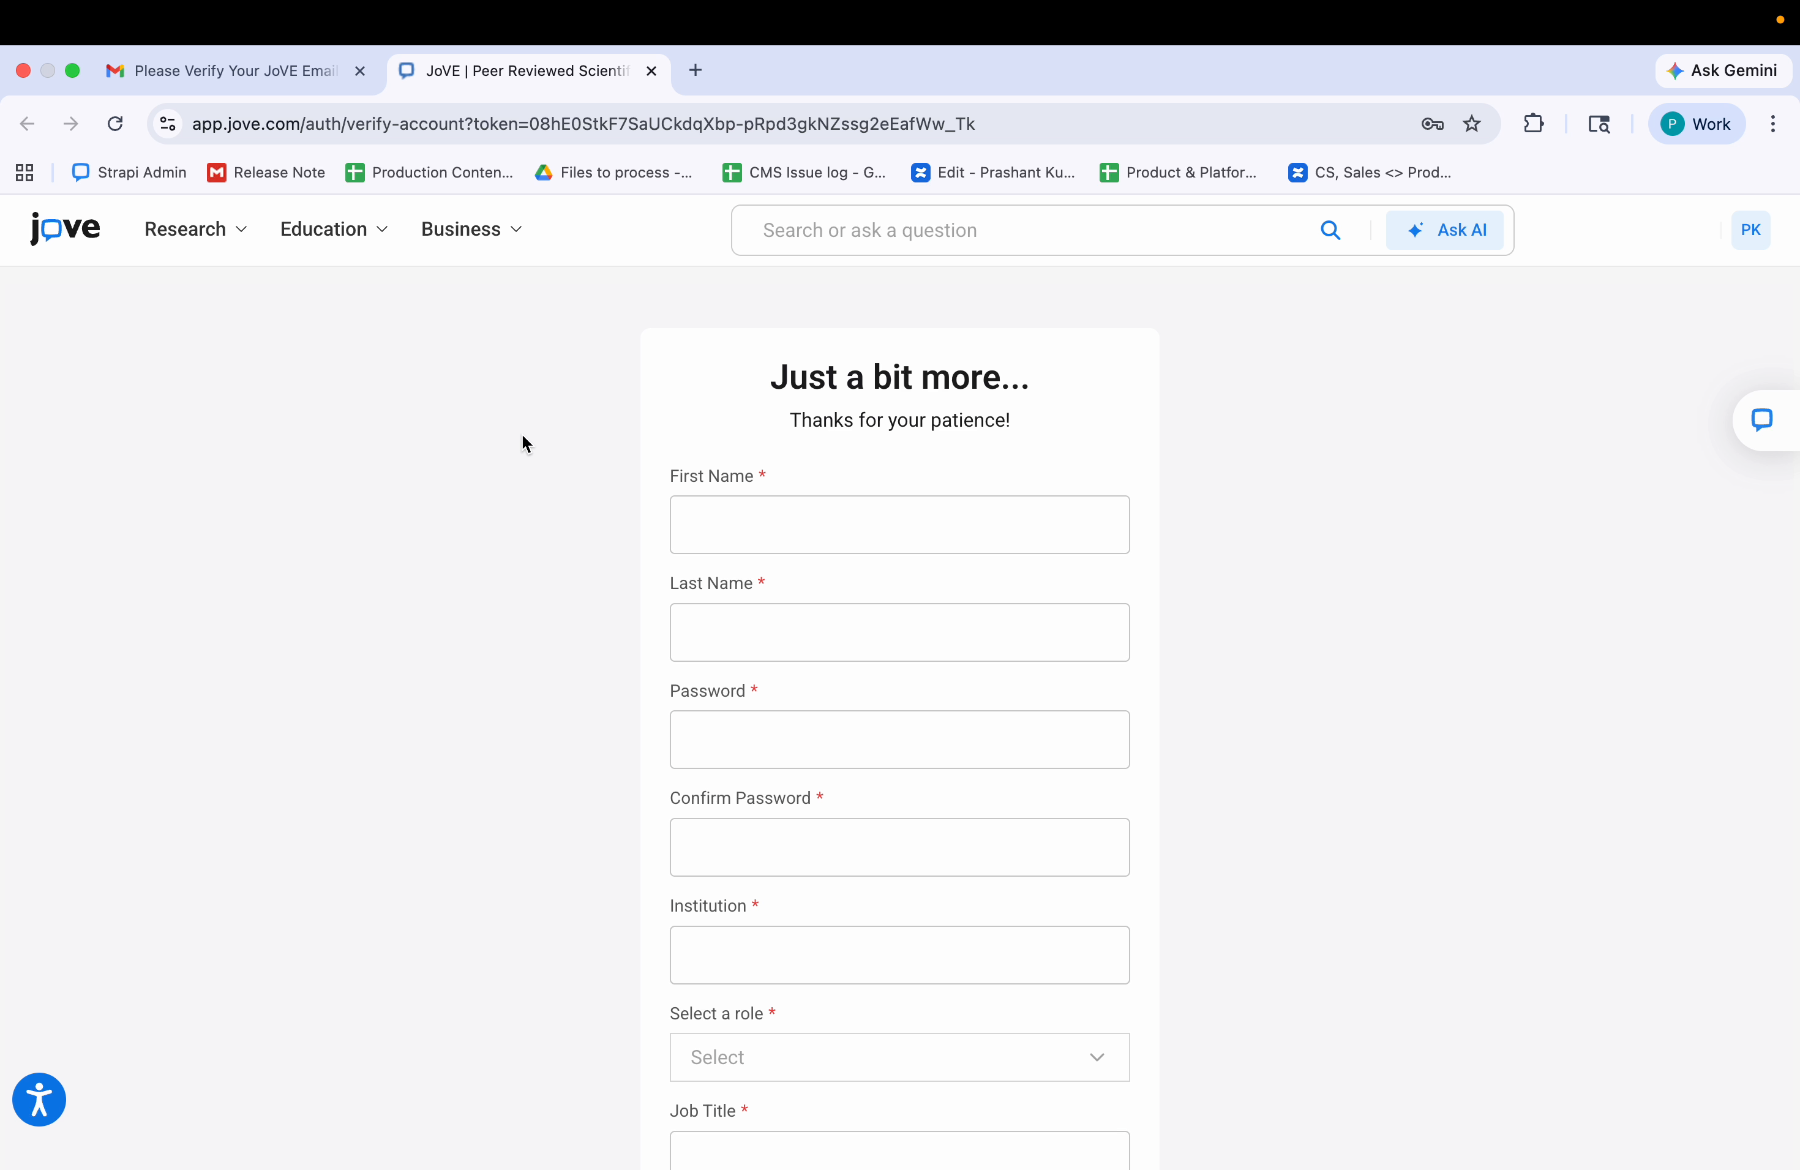
8. Entering Name Fields
The first field is first name. Here you have to enter your first name. In the second field, you have to enter your last name.
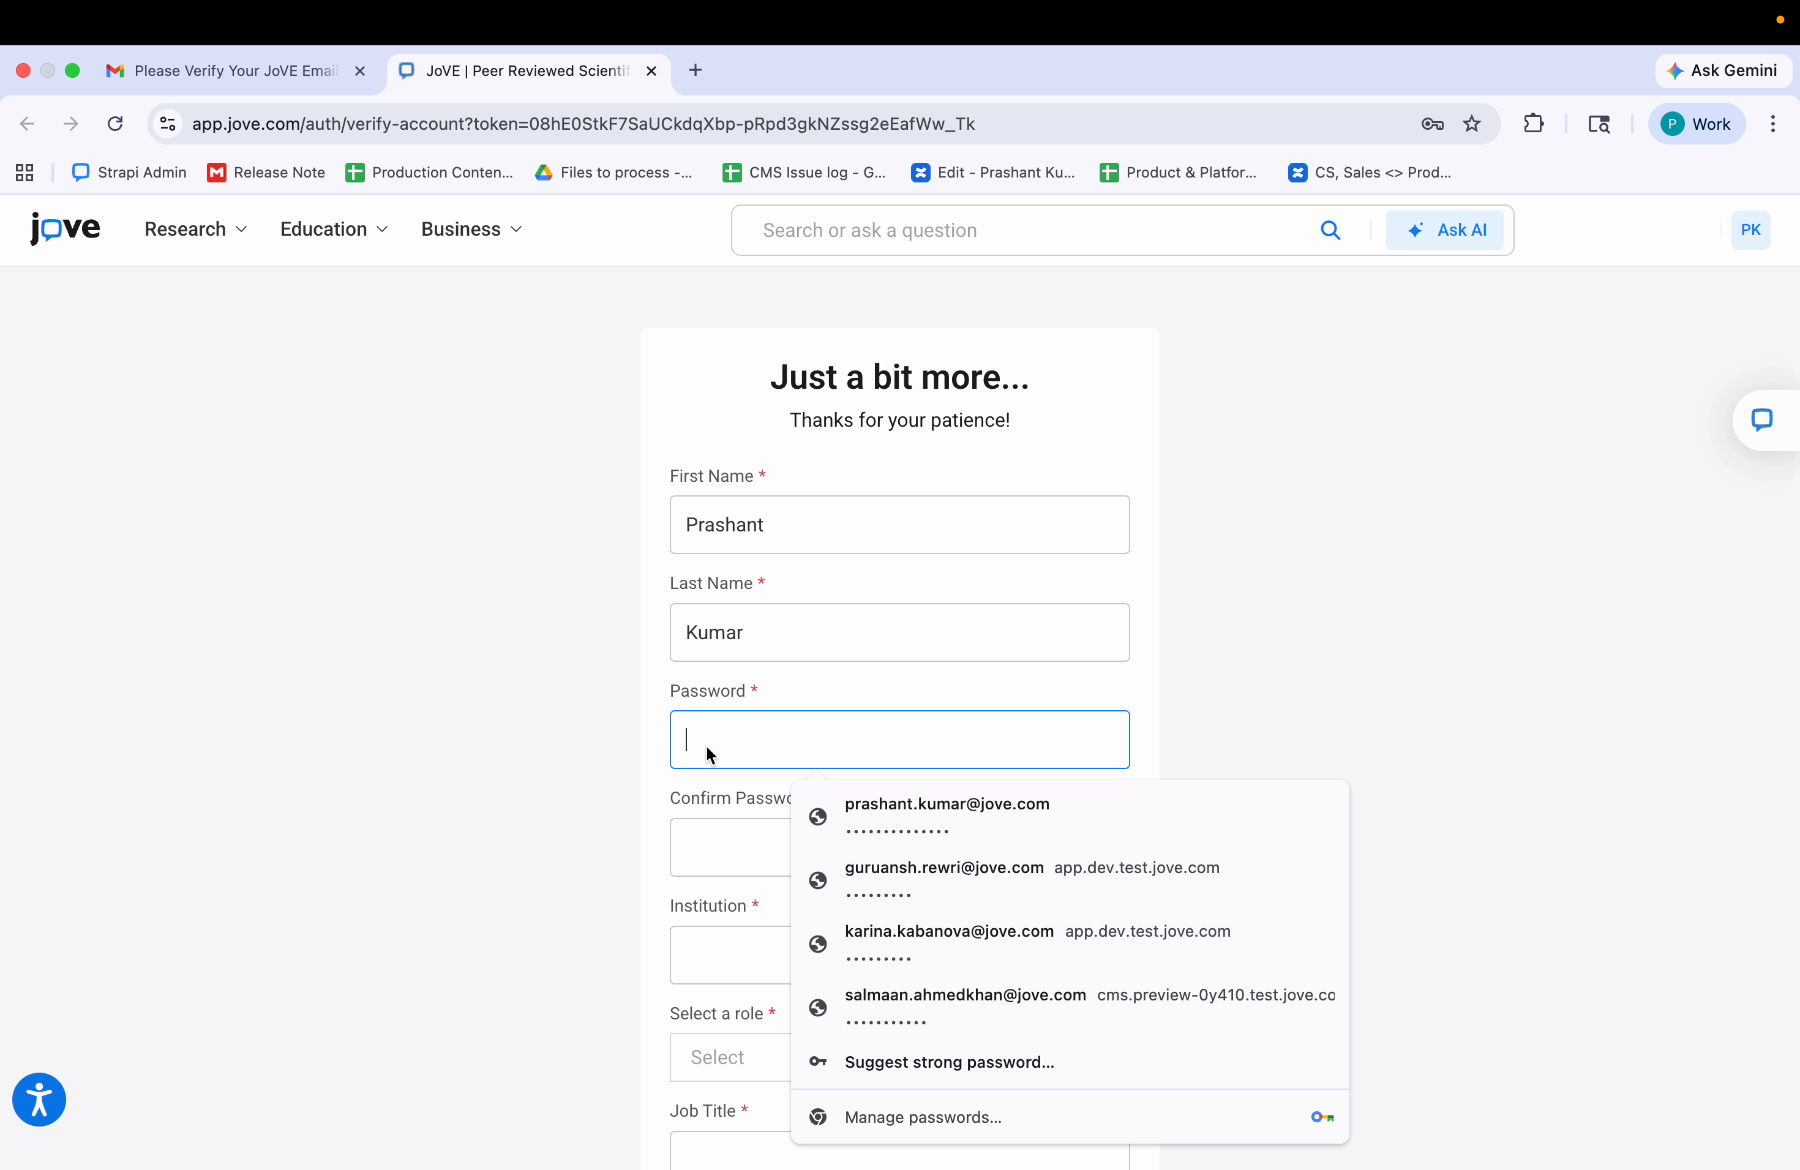
9. Setting And Confirming Password
The third field is for password. Next, confirm password.
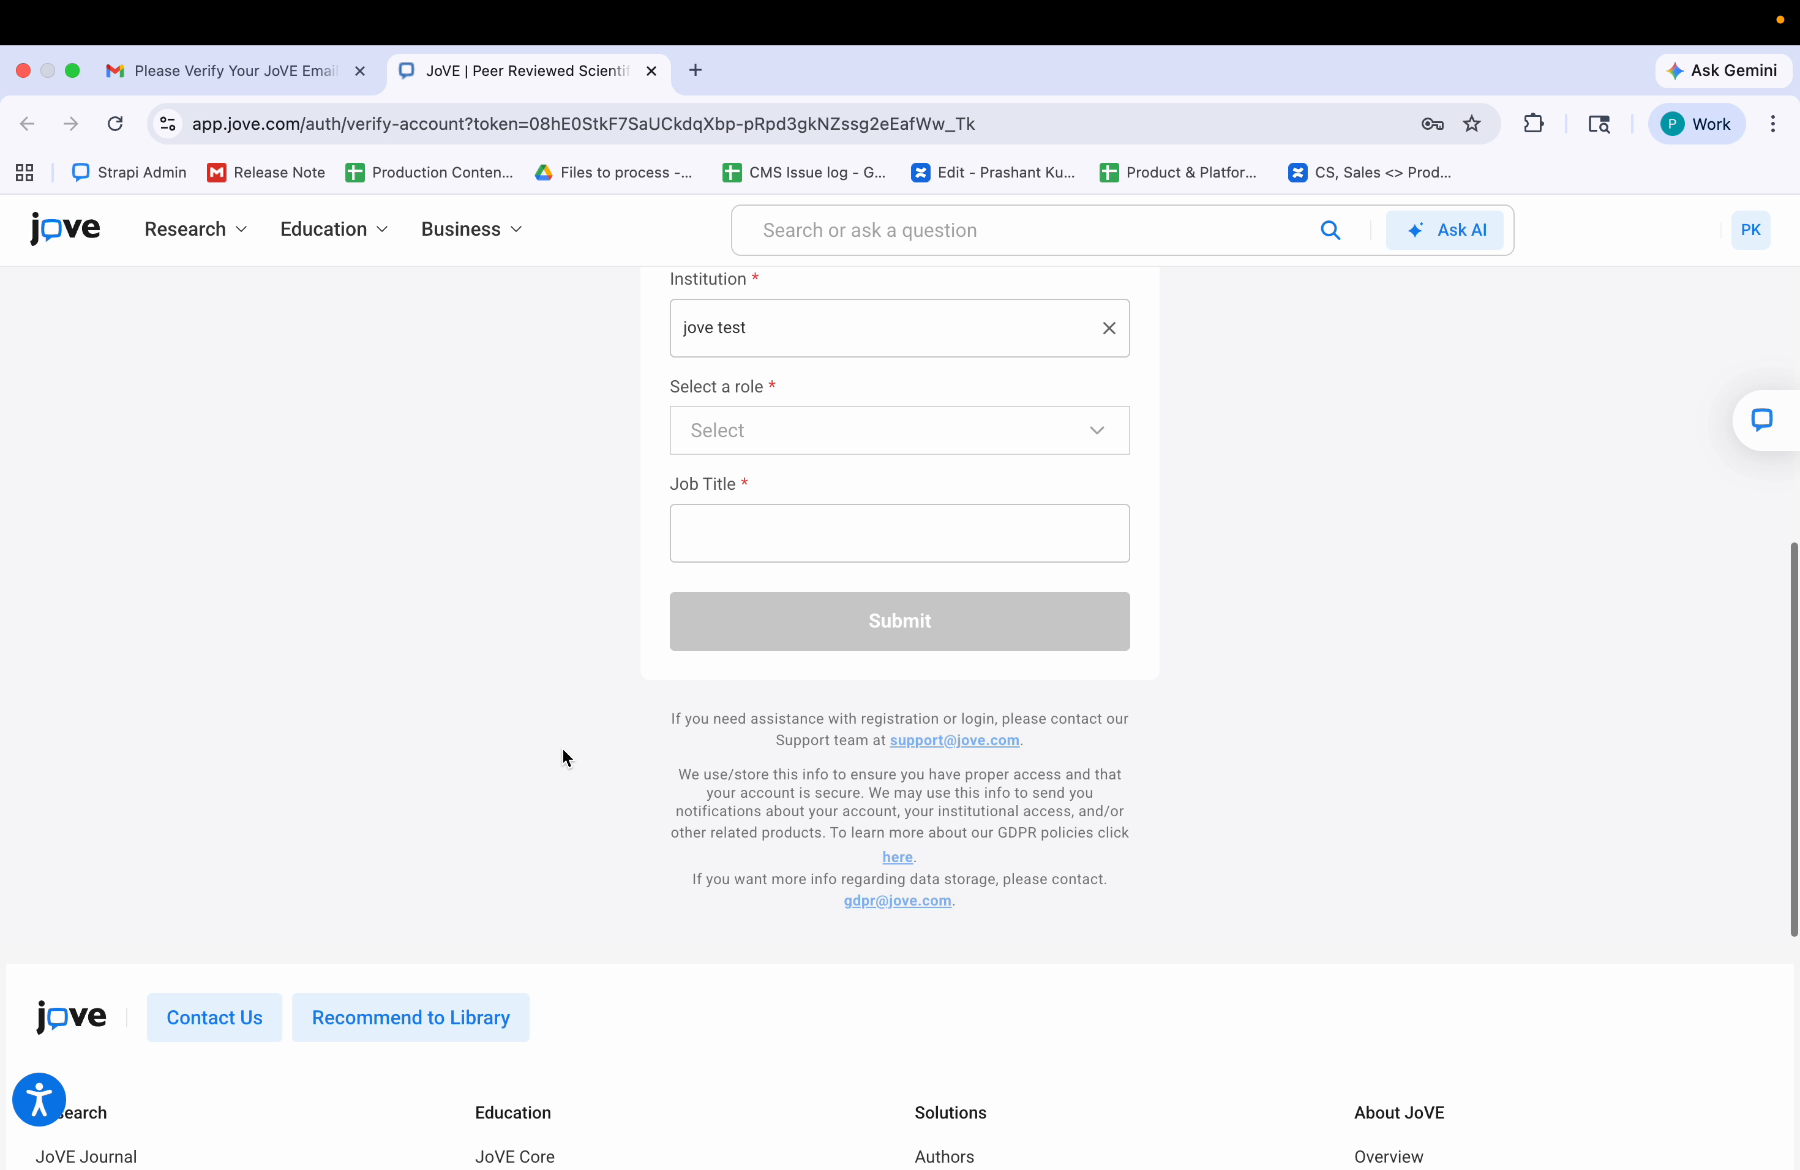
10. Institution Entry And Password Validation
If your passwords do not match, then you need to type the passwords again. Next field is type your institution.
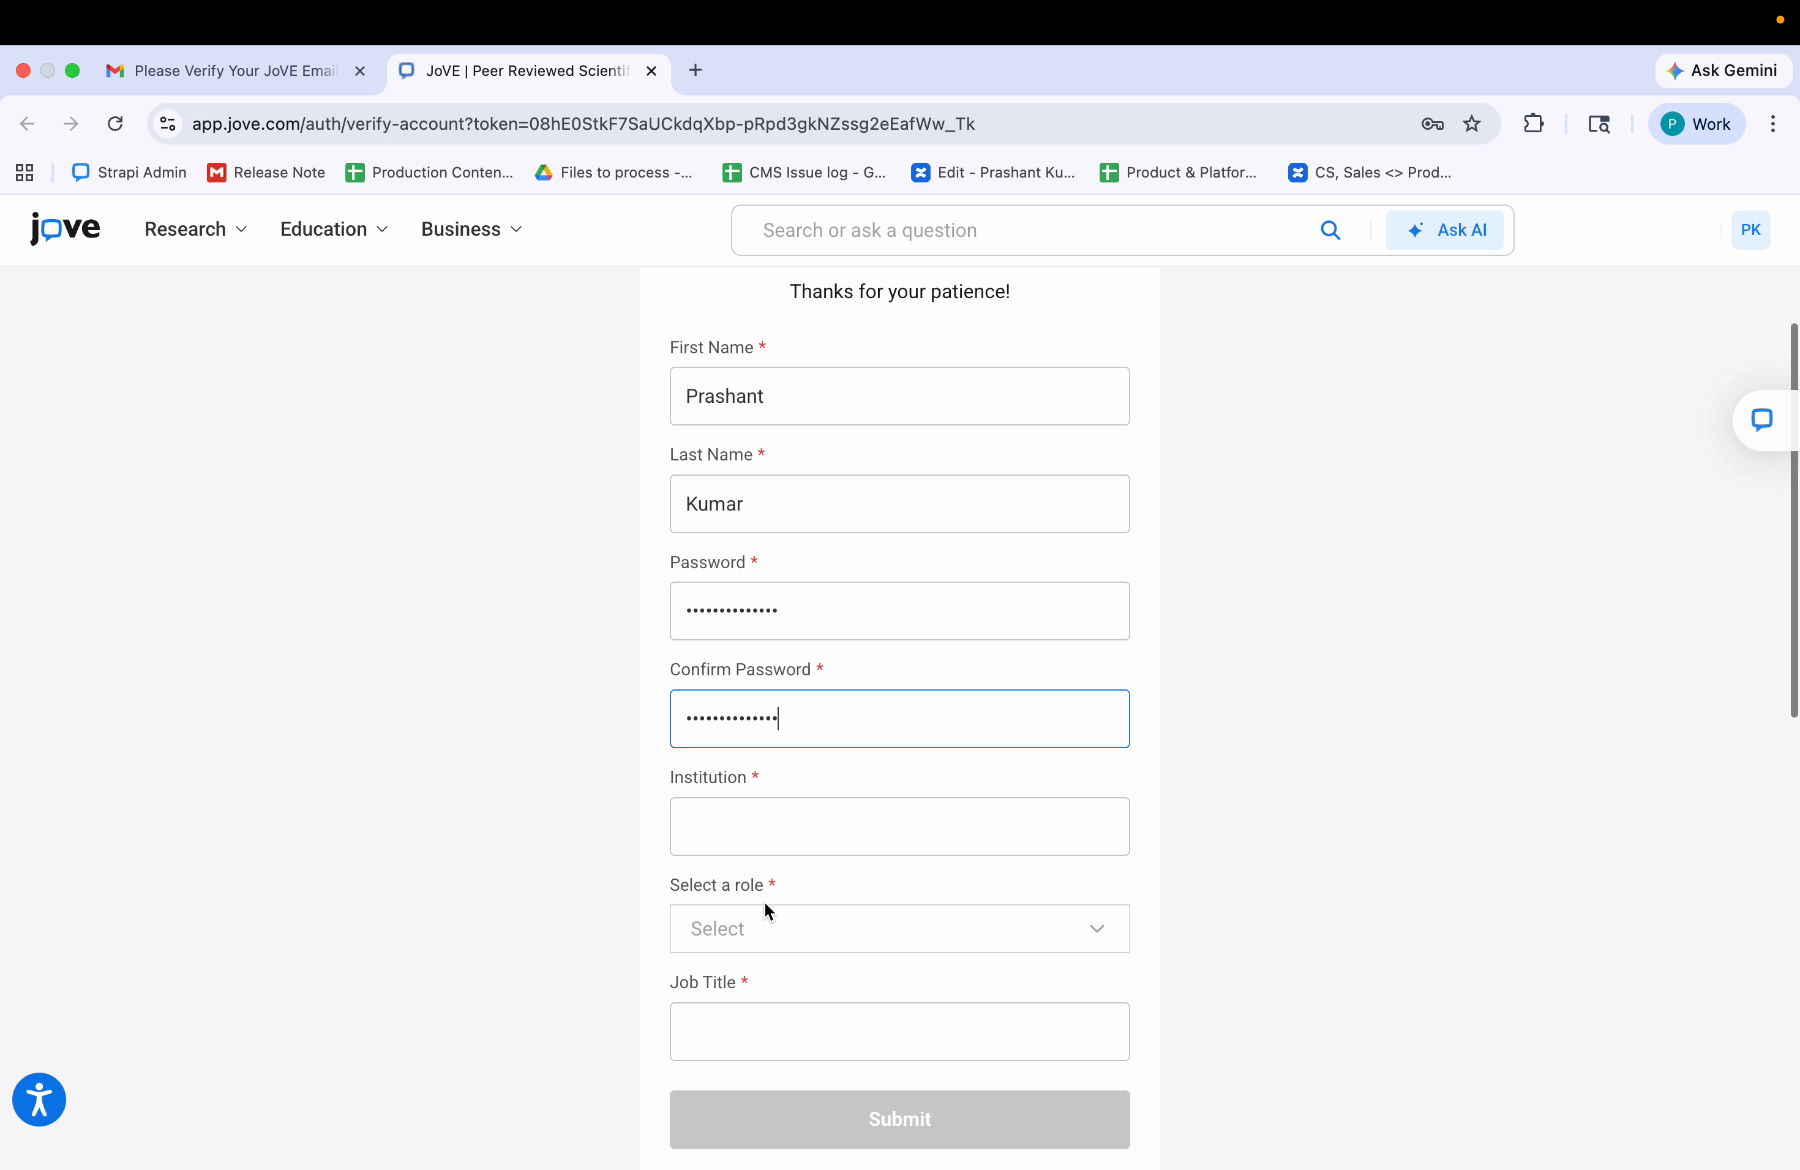
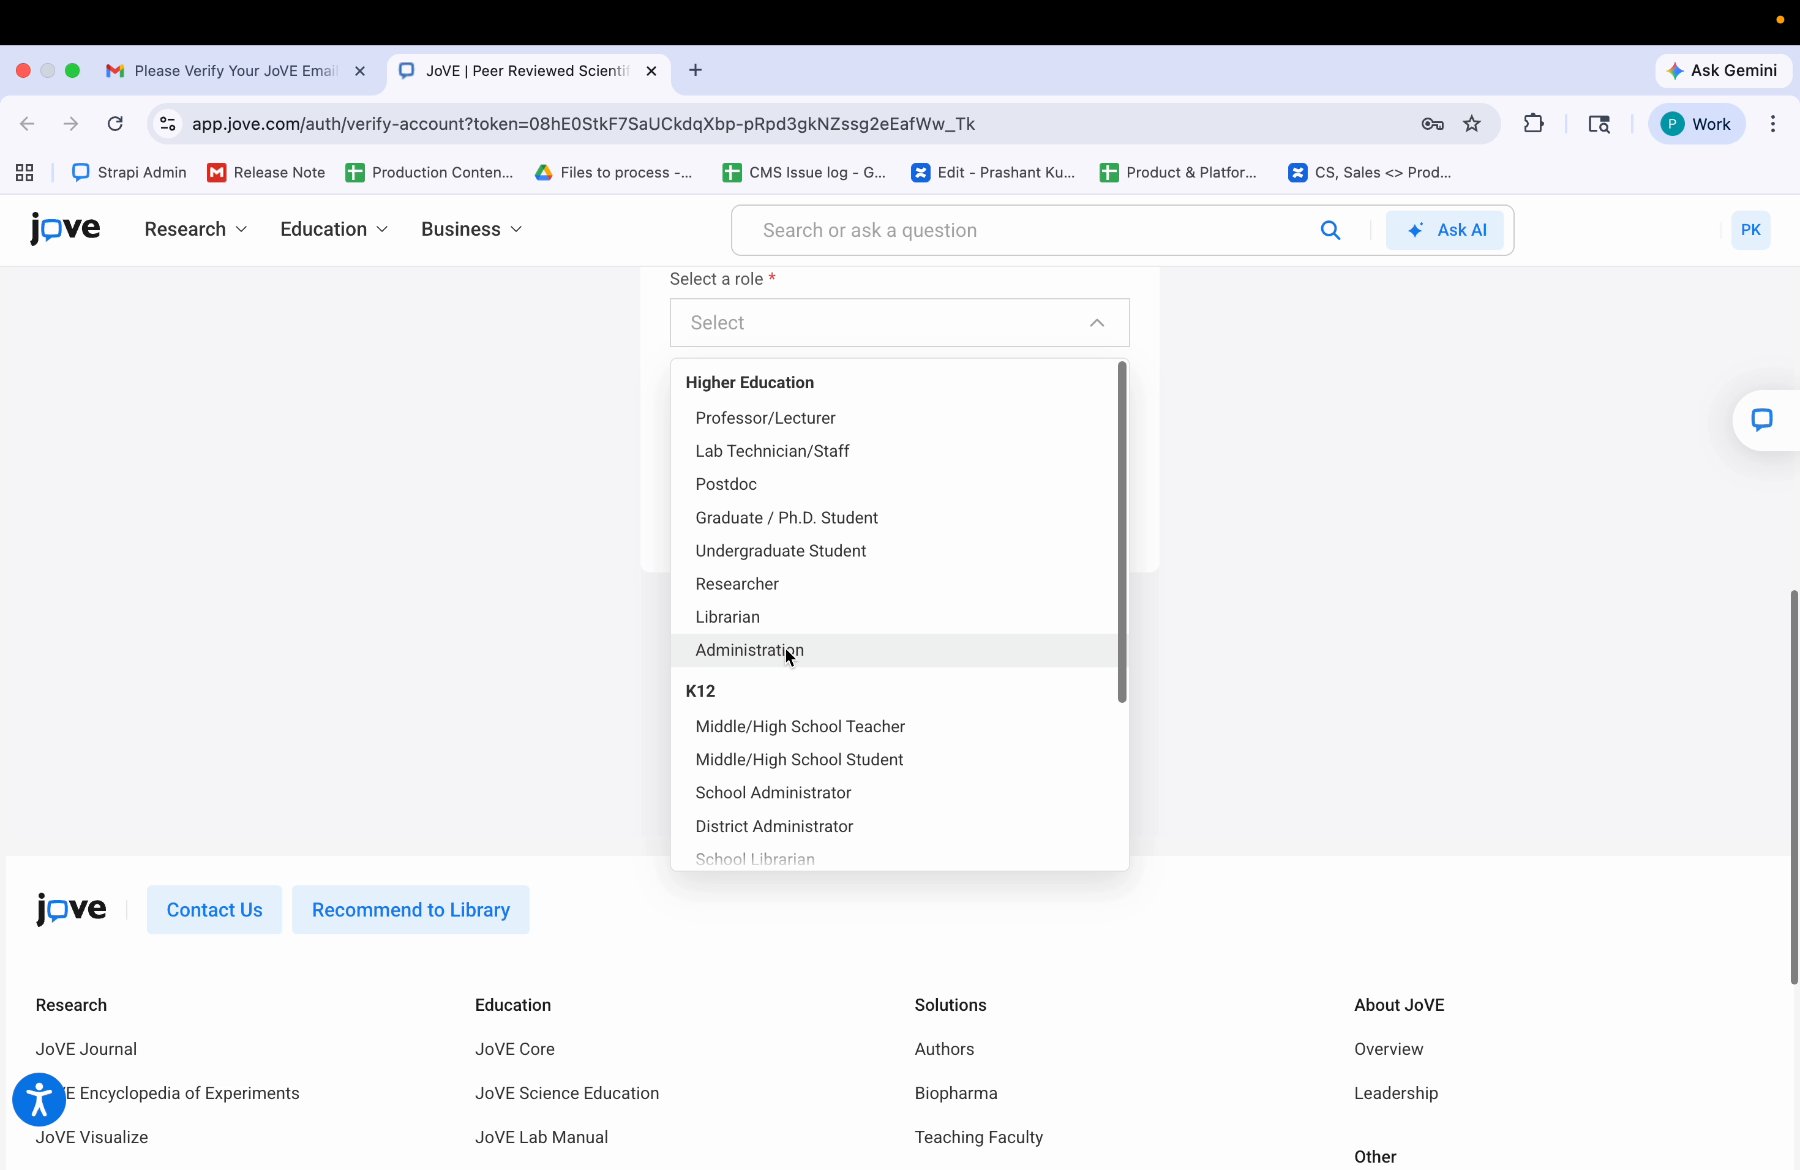
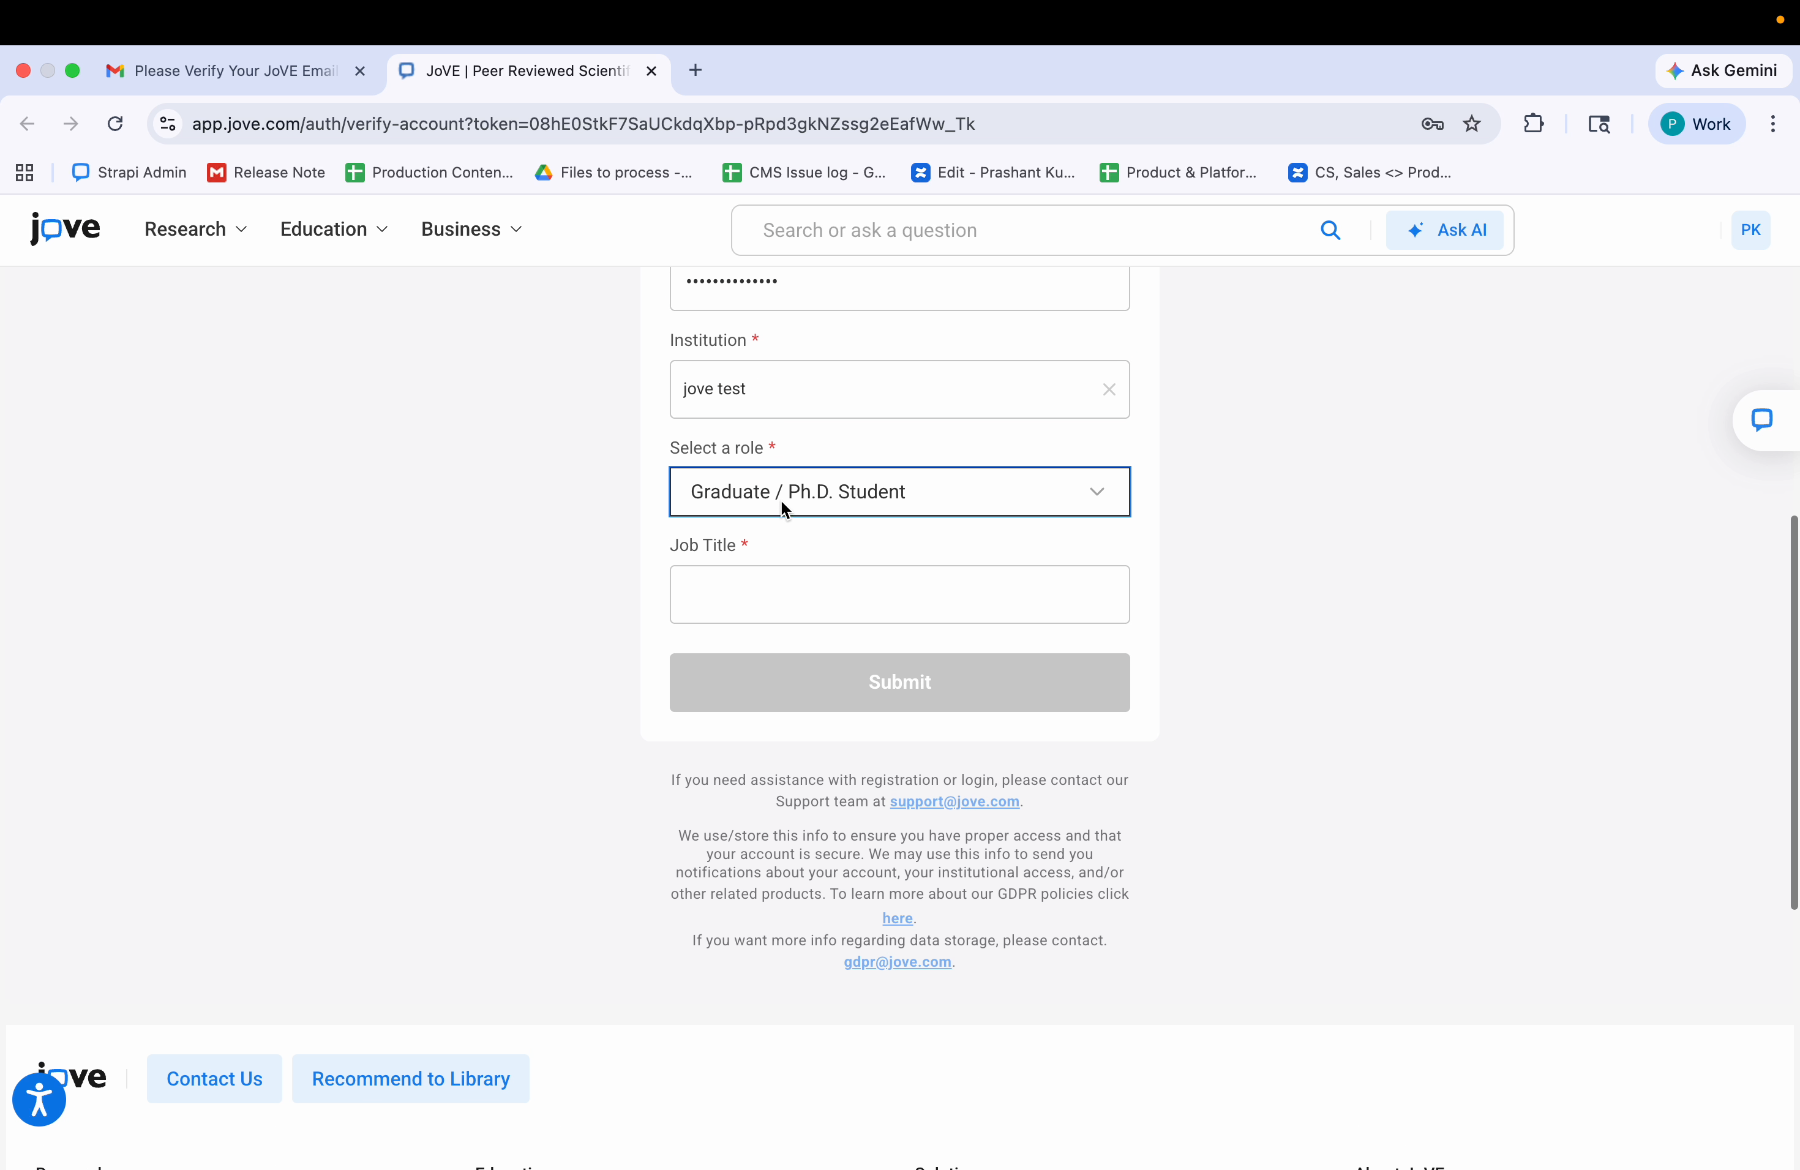
11. Selecting User Role Options
Once you have entered your institution, select your role. In the role drop-down, you can see a list of roles for higher education, K-12, and corporate. In higher education, you can see professor, lecturer, lab technician, staff, postdoc, graduate, PhD student, undergraduate student, researcher, librarian, administration.
12. Role Selection Guidance
Under K-12, you can see middle high school teacher, middle high school student, school administrator, district administrator, school librarian. Under corporate, you can see lab operations manager, scientist, lab technician, librarian, and director. Based on your role, you select one of the options.
13. Entering Job Title And Submission
In the last field, you enter your job title. Then you click on submit.
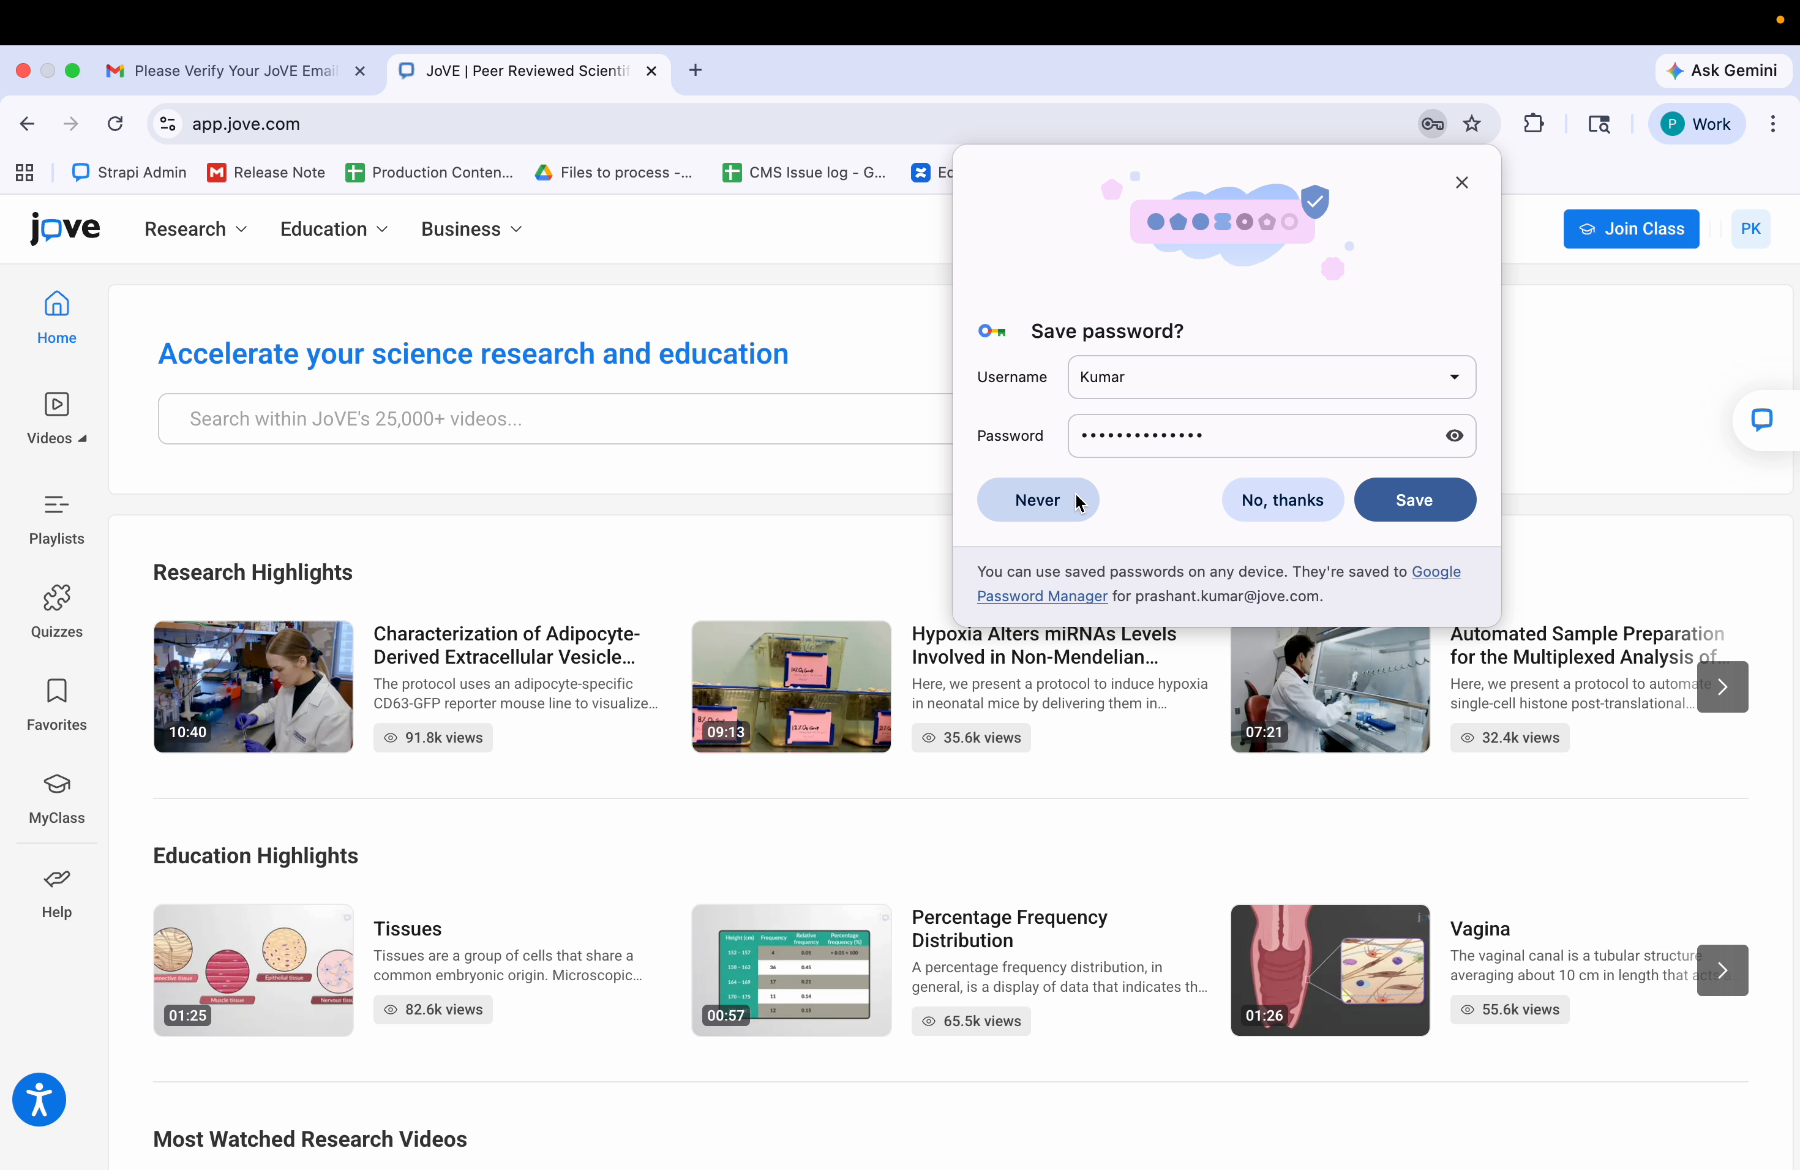
14. Account Completion And Homepage Access
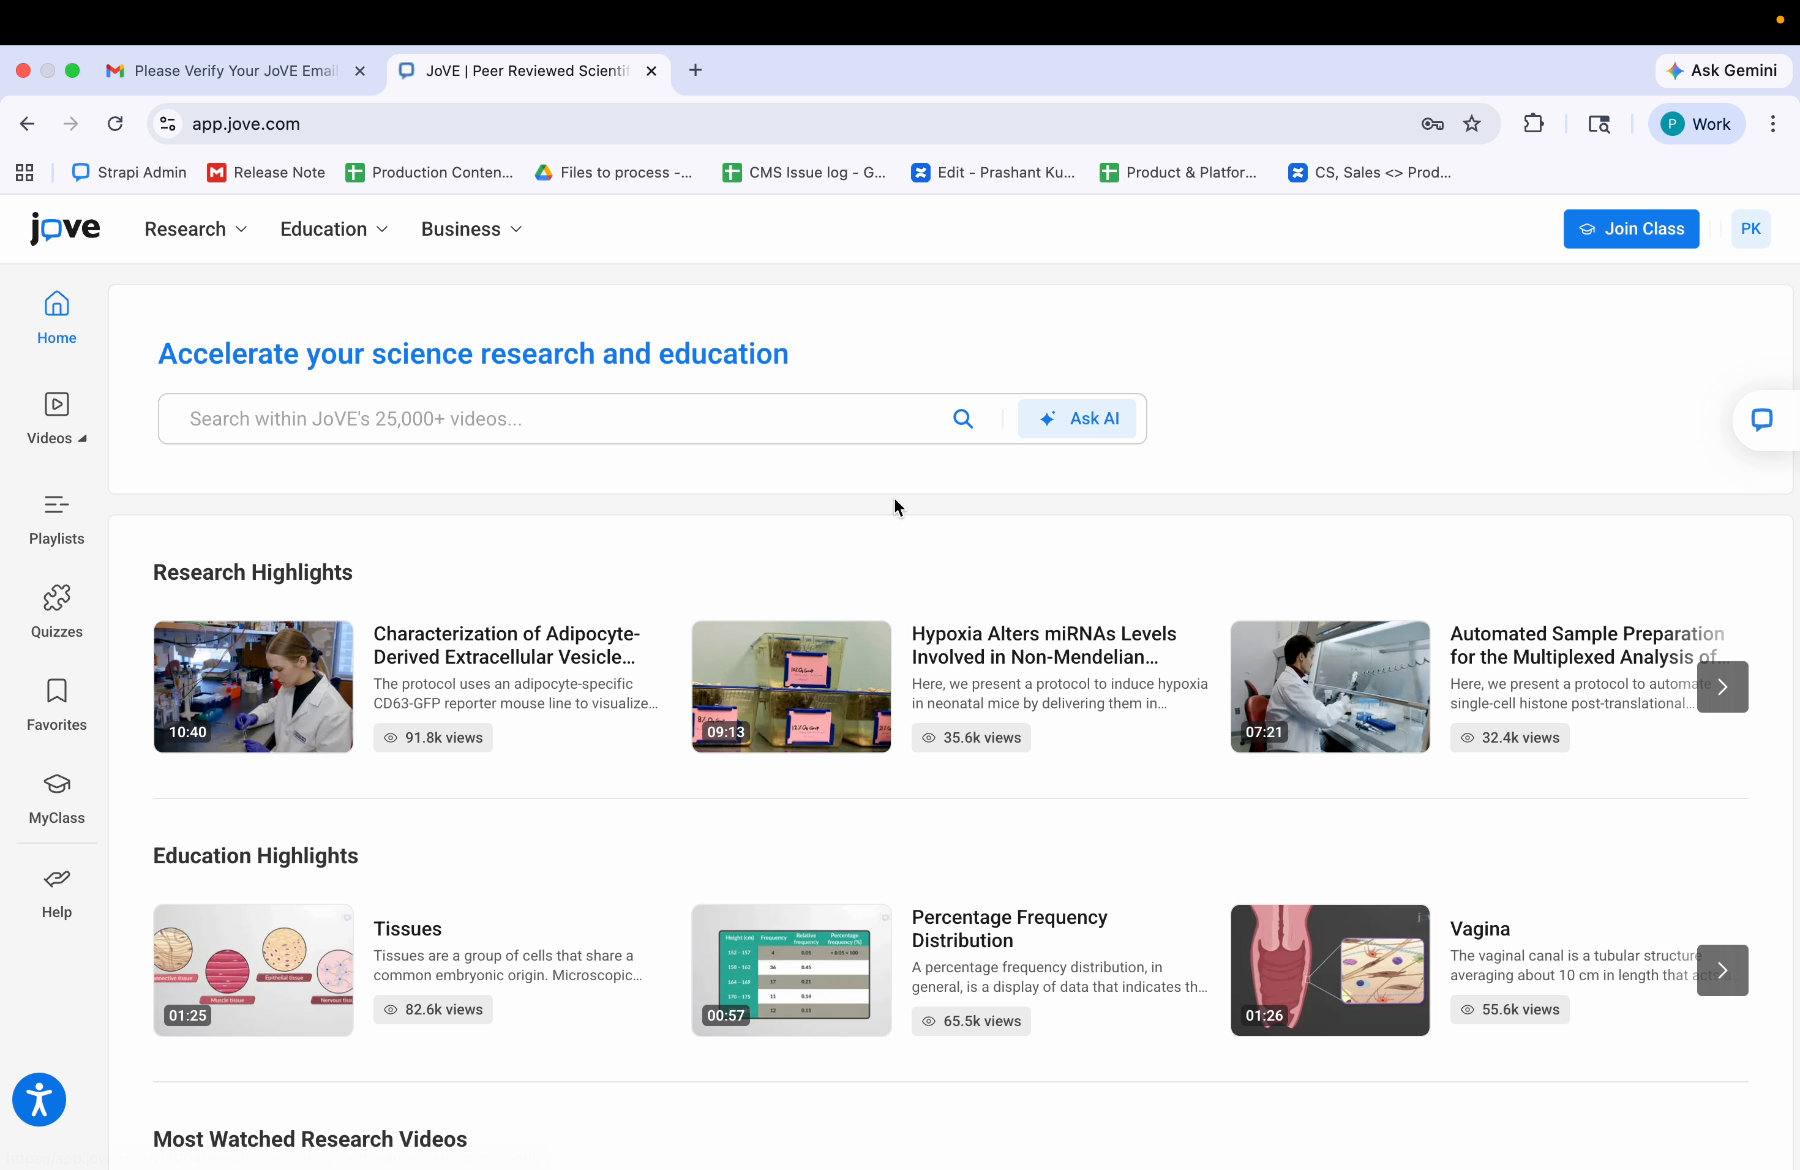
Once you have clicked on submit, your jove account is ready. You will land on your jove homepage.
15. Summary Of Account Creation
So this is how you can create a new account in Jove.
The video shows how to register a new Jove account, including email verification, form completion, role selection, and accessing the Jove homepage after submission.